Soldering my first PCB
My first time soldering
This Christmas, I got an awesome gift from my dad – a second-generation Pinecil soldering iron by Pine64. I’ve been wanting to get into soldering, and Pine64 makes cool open-source tools that are super affordable. The Pinecil only costs about $40, which is way better than some of the no-name brands you’d find on Amazon. Plus, it’s powered by a RISC-V processor, which is pretty advanced for a soldering iron. It’s the perfect starter iron for someone like me who’s just starting to learn how to solder and likes supporting companies that are into open-source stuff. Thanks, Dad!
Later in the afternoon, I was testing it out; I plugged it in and turned on the iron; it quickly jumped to 200°C. I didn’t believe something could get that hot, so I gently touched it on the side of my index finger. Oh boy, was I wrong; it was HOT.
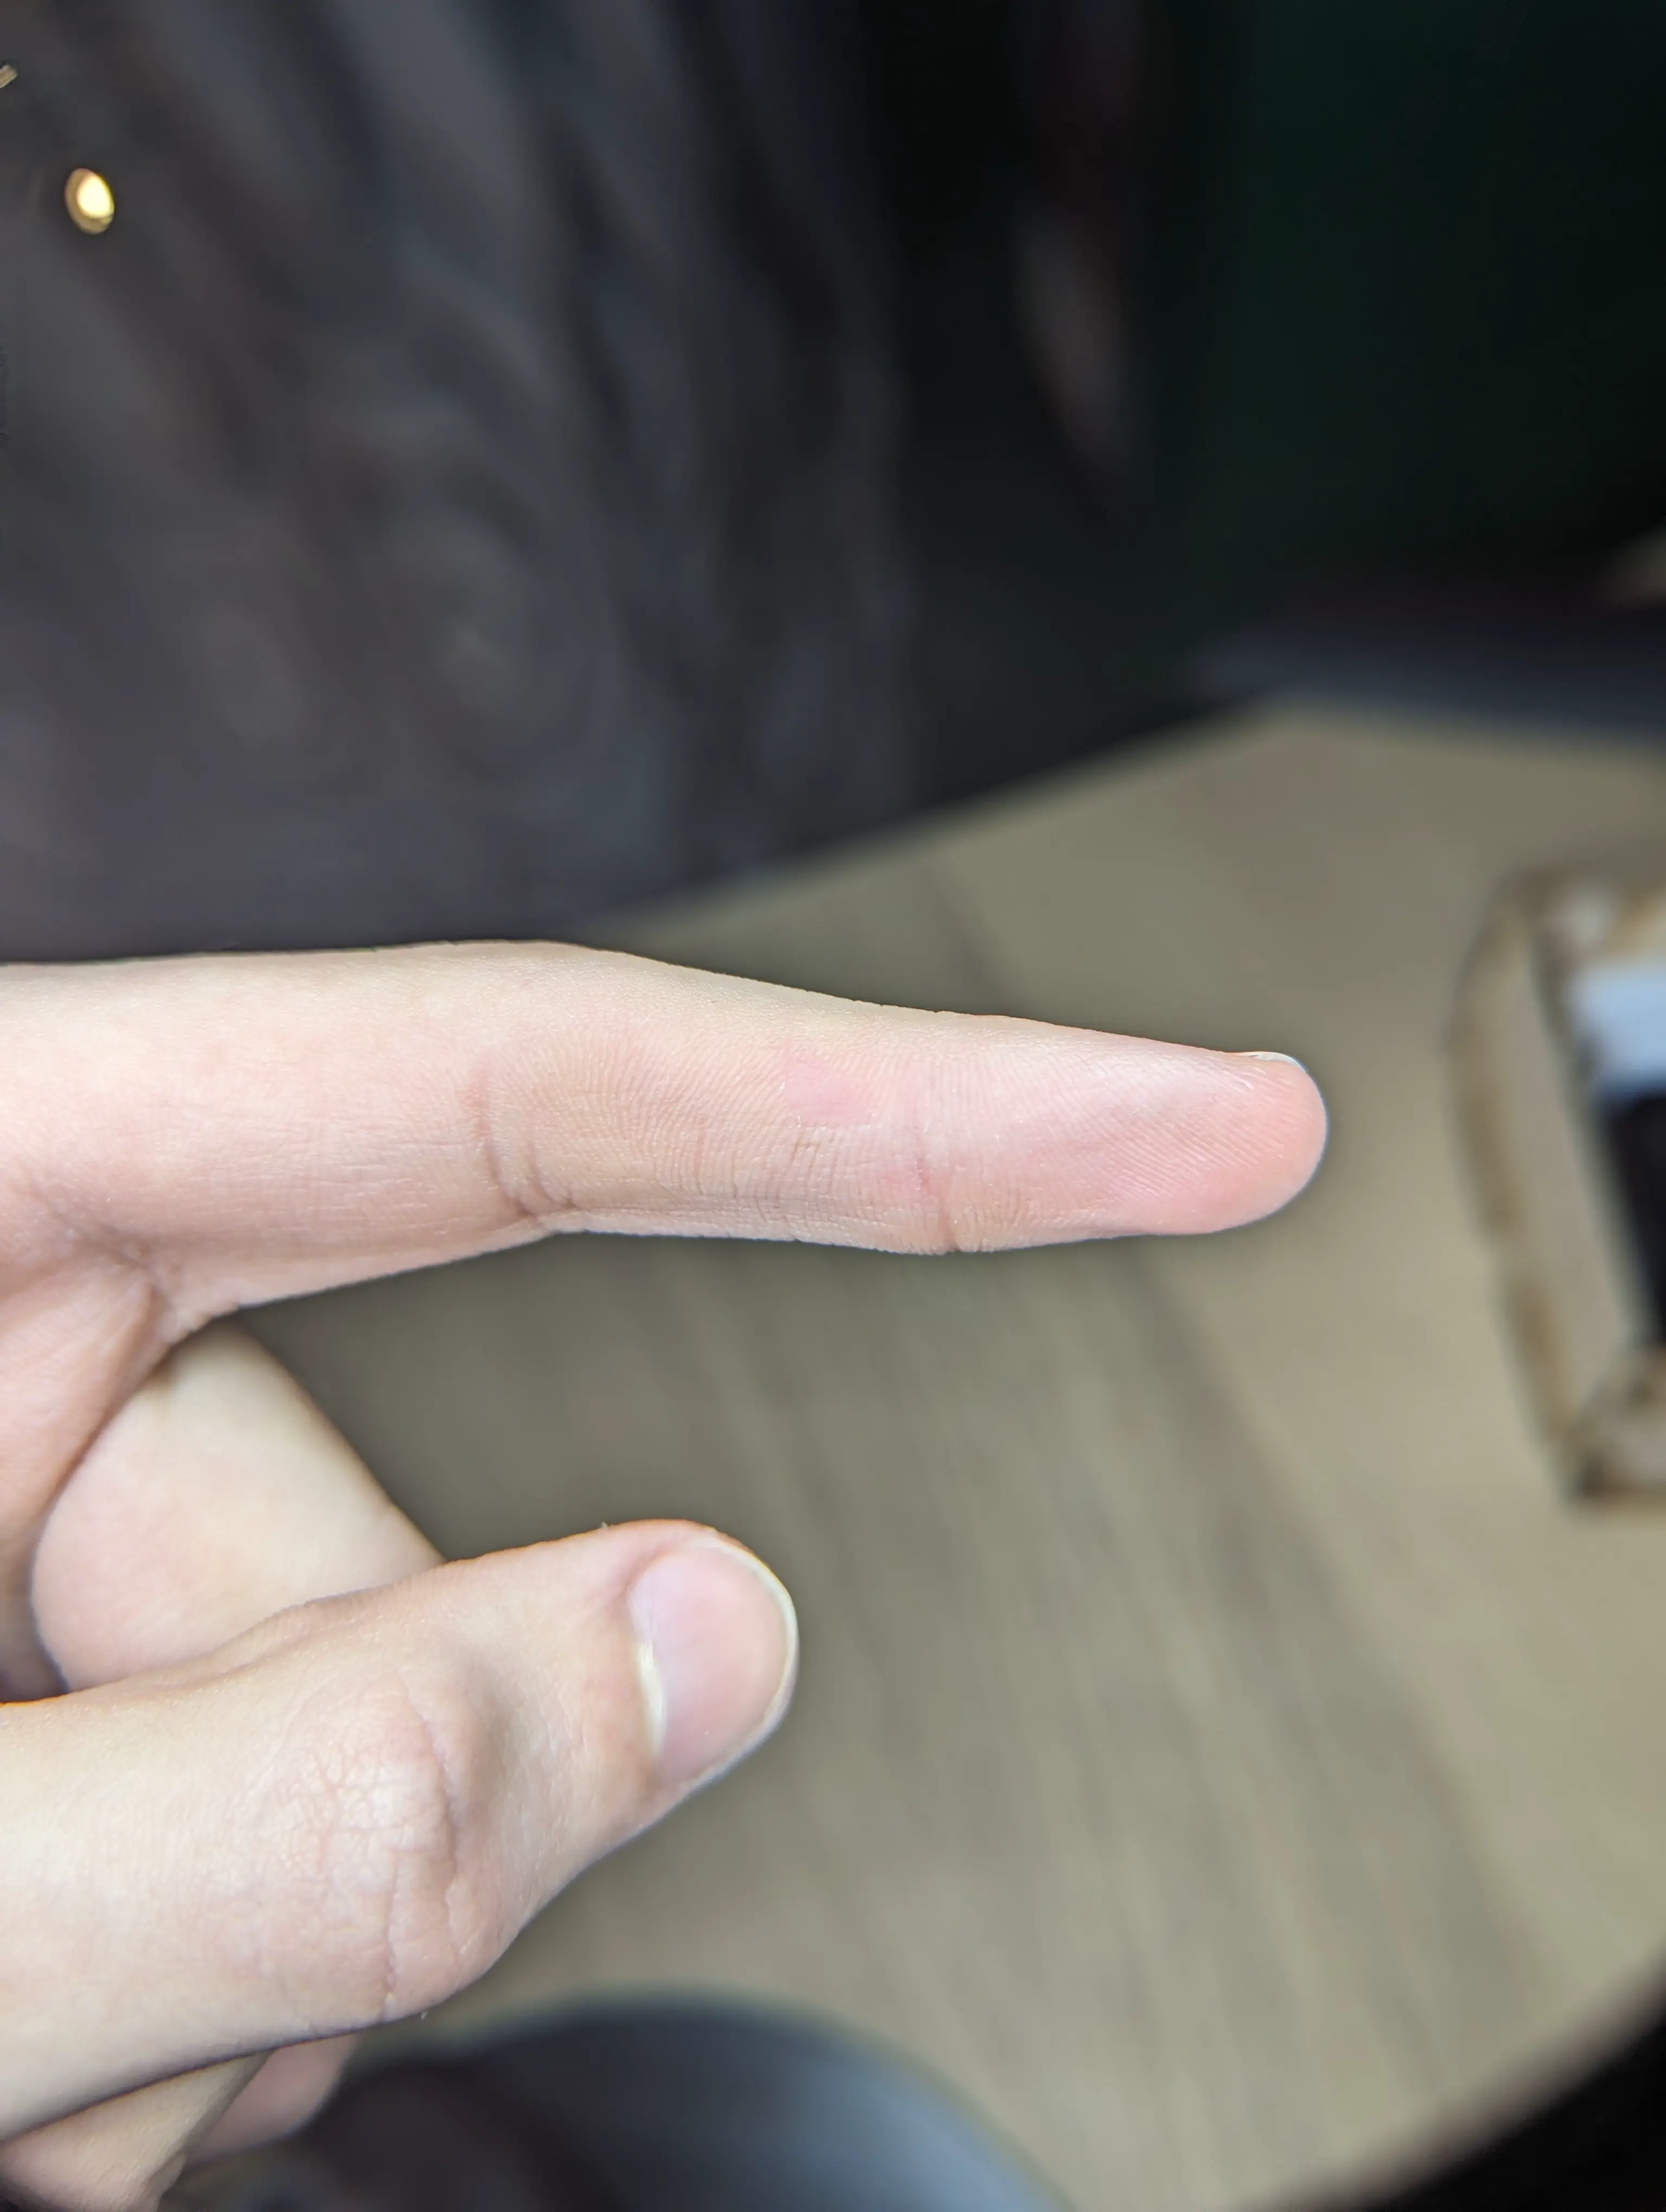
In all seriousness, I don’t think it was even a first-degree burn because I dropped the soldering iron super fast after it touched my finger. It did hurt like crazy, though. I ran my finger under cold water, which helped a lot, but I still had a blister that stuck around for a little while. THANK YOU, NERVOUS SYSTEM! 🙏
I was pretty hesitant to give it another shot. The thought of accidentally burning myself again wasn’t exactly appealing. But learning that my minor mishap happened without even cranking the pinecil up to its max temperature of 400°C? That was a real eye-opener. It made me realize that it can indeed get that hot that fast, and the screen doesn’t lie. It also made me realize that I should probably be wearing shoes, just in case.
Returning to Class
When I returned to school after winter break, I was excited to learn we would be soldering in my engineering class. Our teacher, Mr. Ellis, said we would practice soldering in groups. My group included my friends Aidan, Evan, and myself. I was nervous at first since I had accidentally burned myself on the soldering iron over winter break while trying to learn on my own.
Mr. Ellis handed out Elenco Solder Practice SP-1A kits for our first soldering lesson. It was cool because it’s the starting line for all the electronic stuff we will dive into this semester. The kit had a bunch of parts like:
- Resistors
- Capacitors
- Electrolytic
- Ceramic disc
- Transistors
- Integrated circuits
- LEDs
- Speaker
- Wires
- PC Board
We began by carefully going through the manual and taking a quiz at the end, which helped us get the hang of things like what those stripes on resistors mean and how to seller the right way. After that, we started practicing on some blank spots on the PCB, getting the solder to look good and connecting parts without messing up. Once we felt confident about our soldering skills, we moved on to the actual work, putting together the final product by following the instructions one step at a time.
We encountered a few challenges along the way, such as aligning LEDs, correcting poor solder spots, and addressing a short circuit caused by an excess of Aidan’s solder. We also had to contend with gravity to keep parts from falling off the board.
Here are some photos of our finished board:
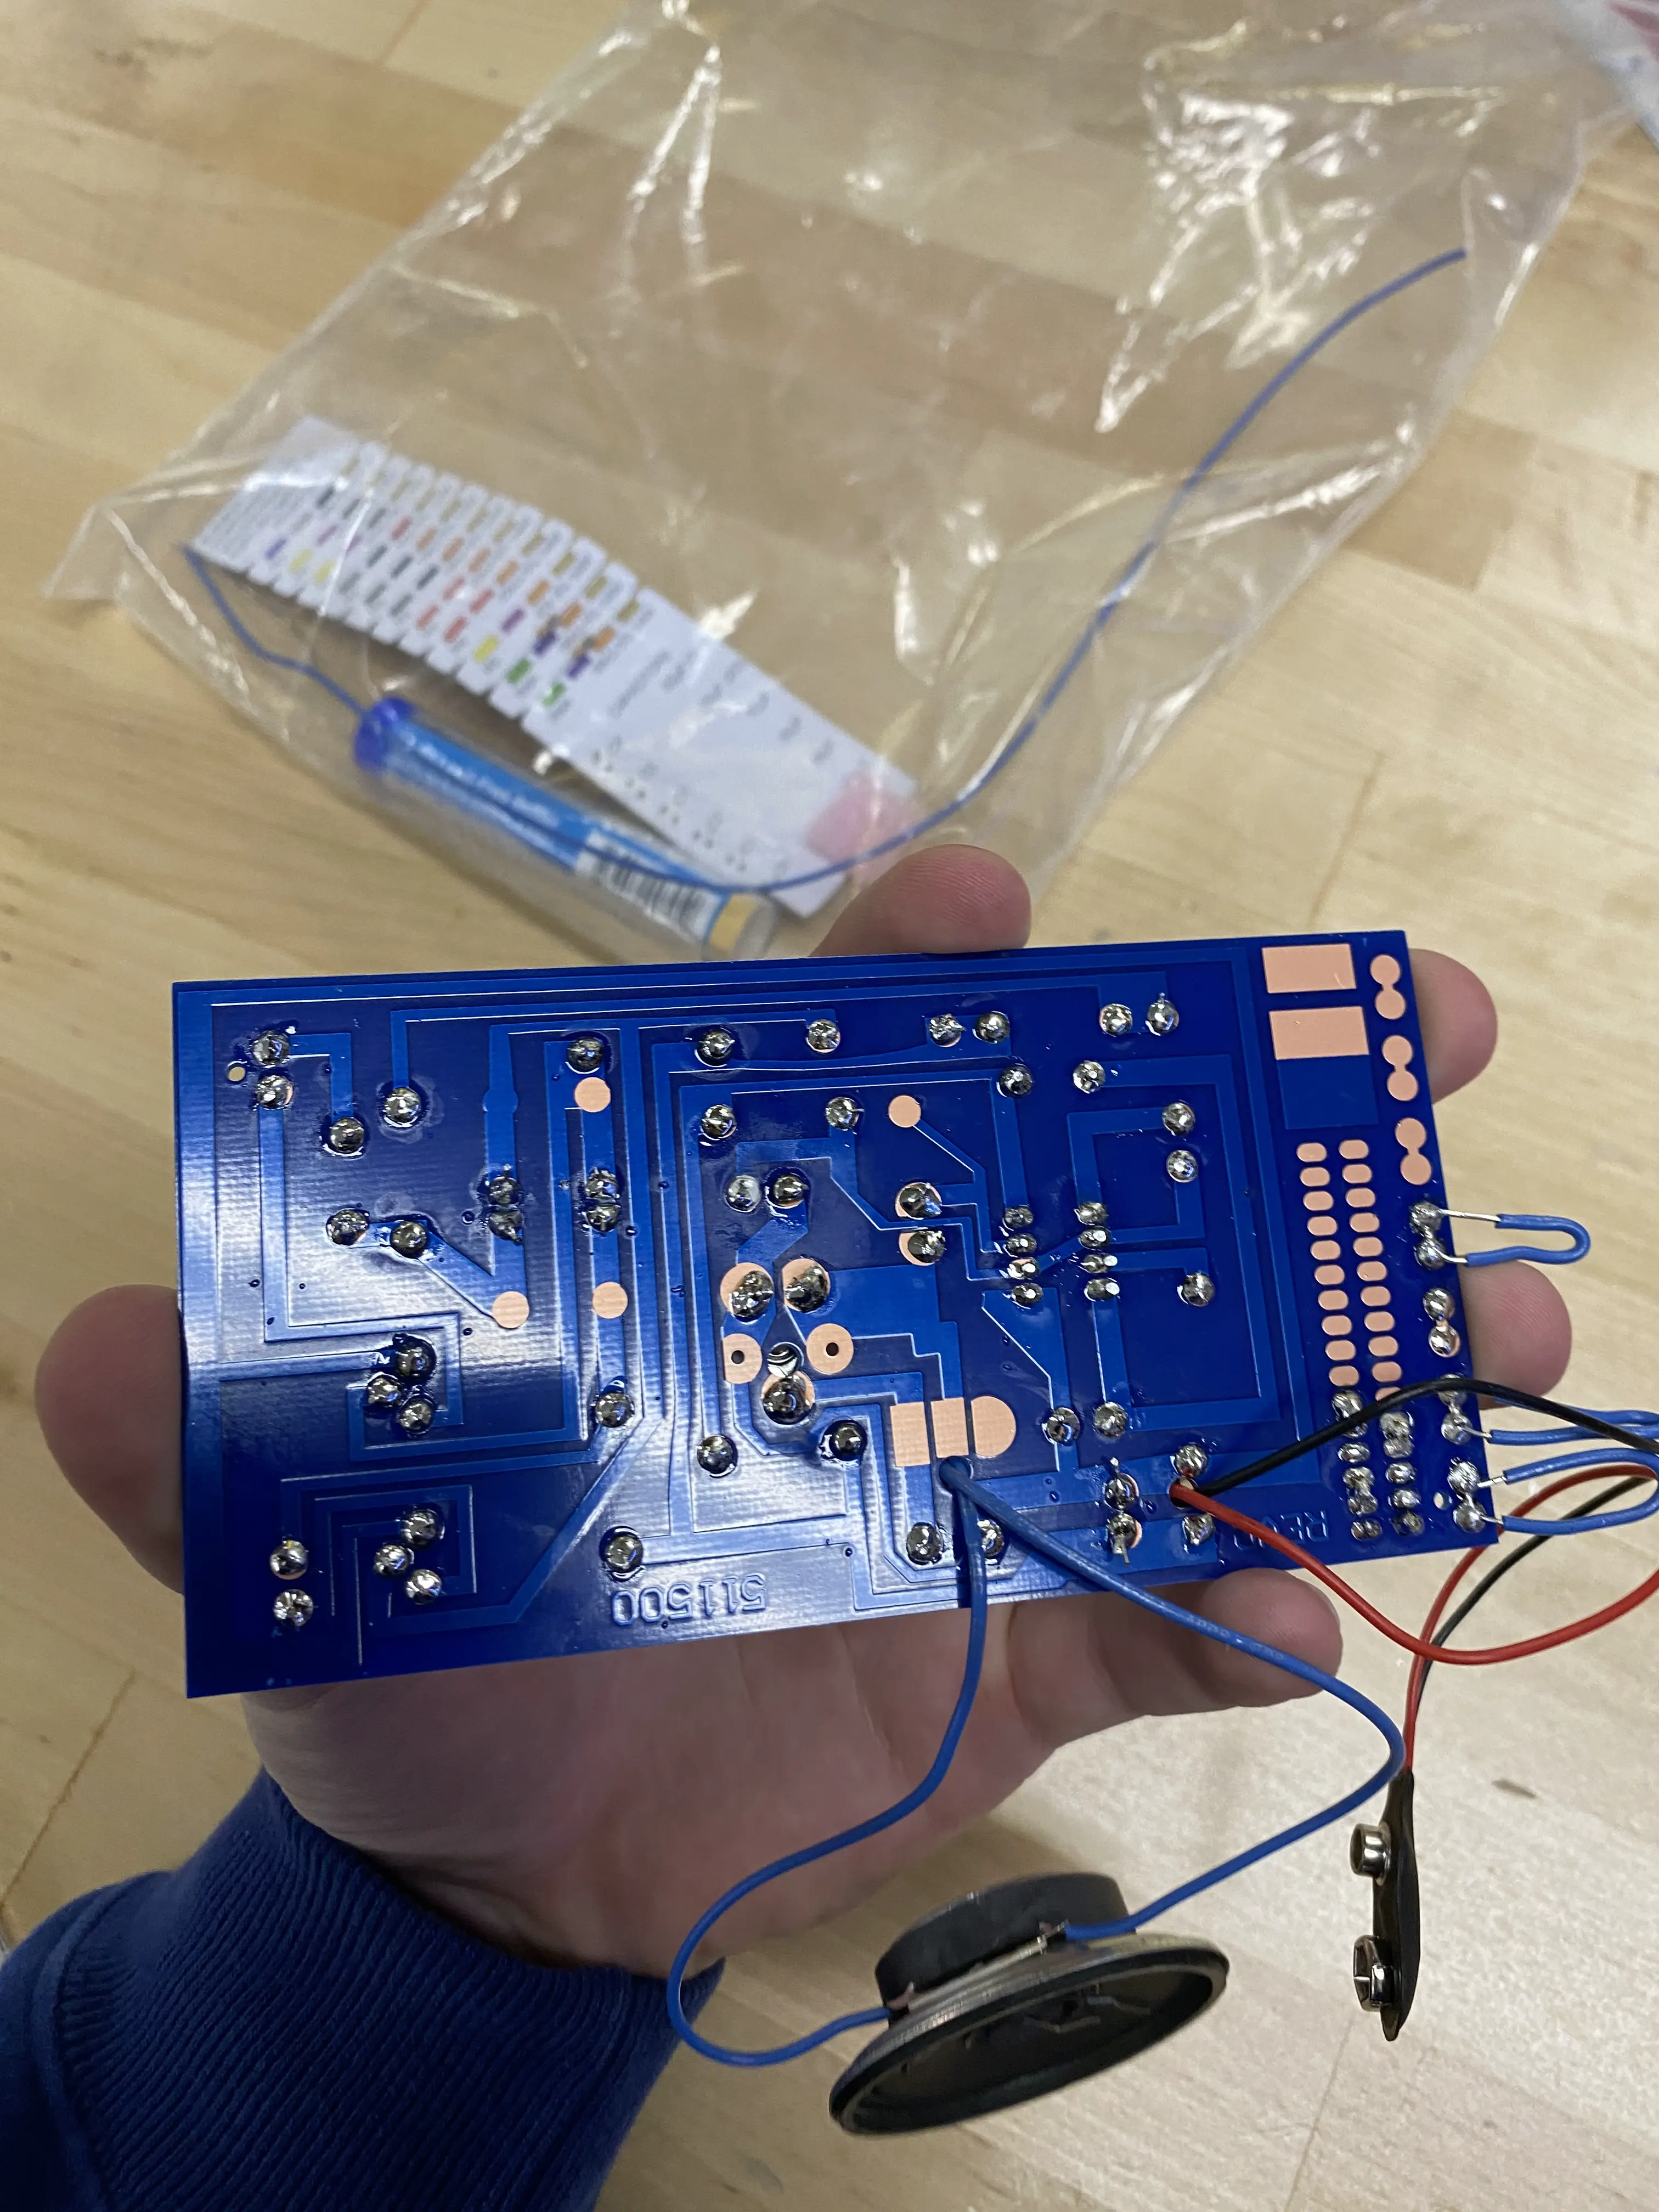
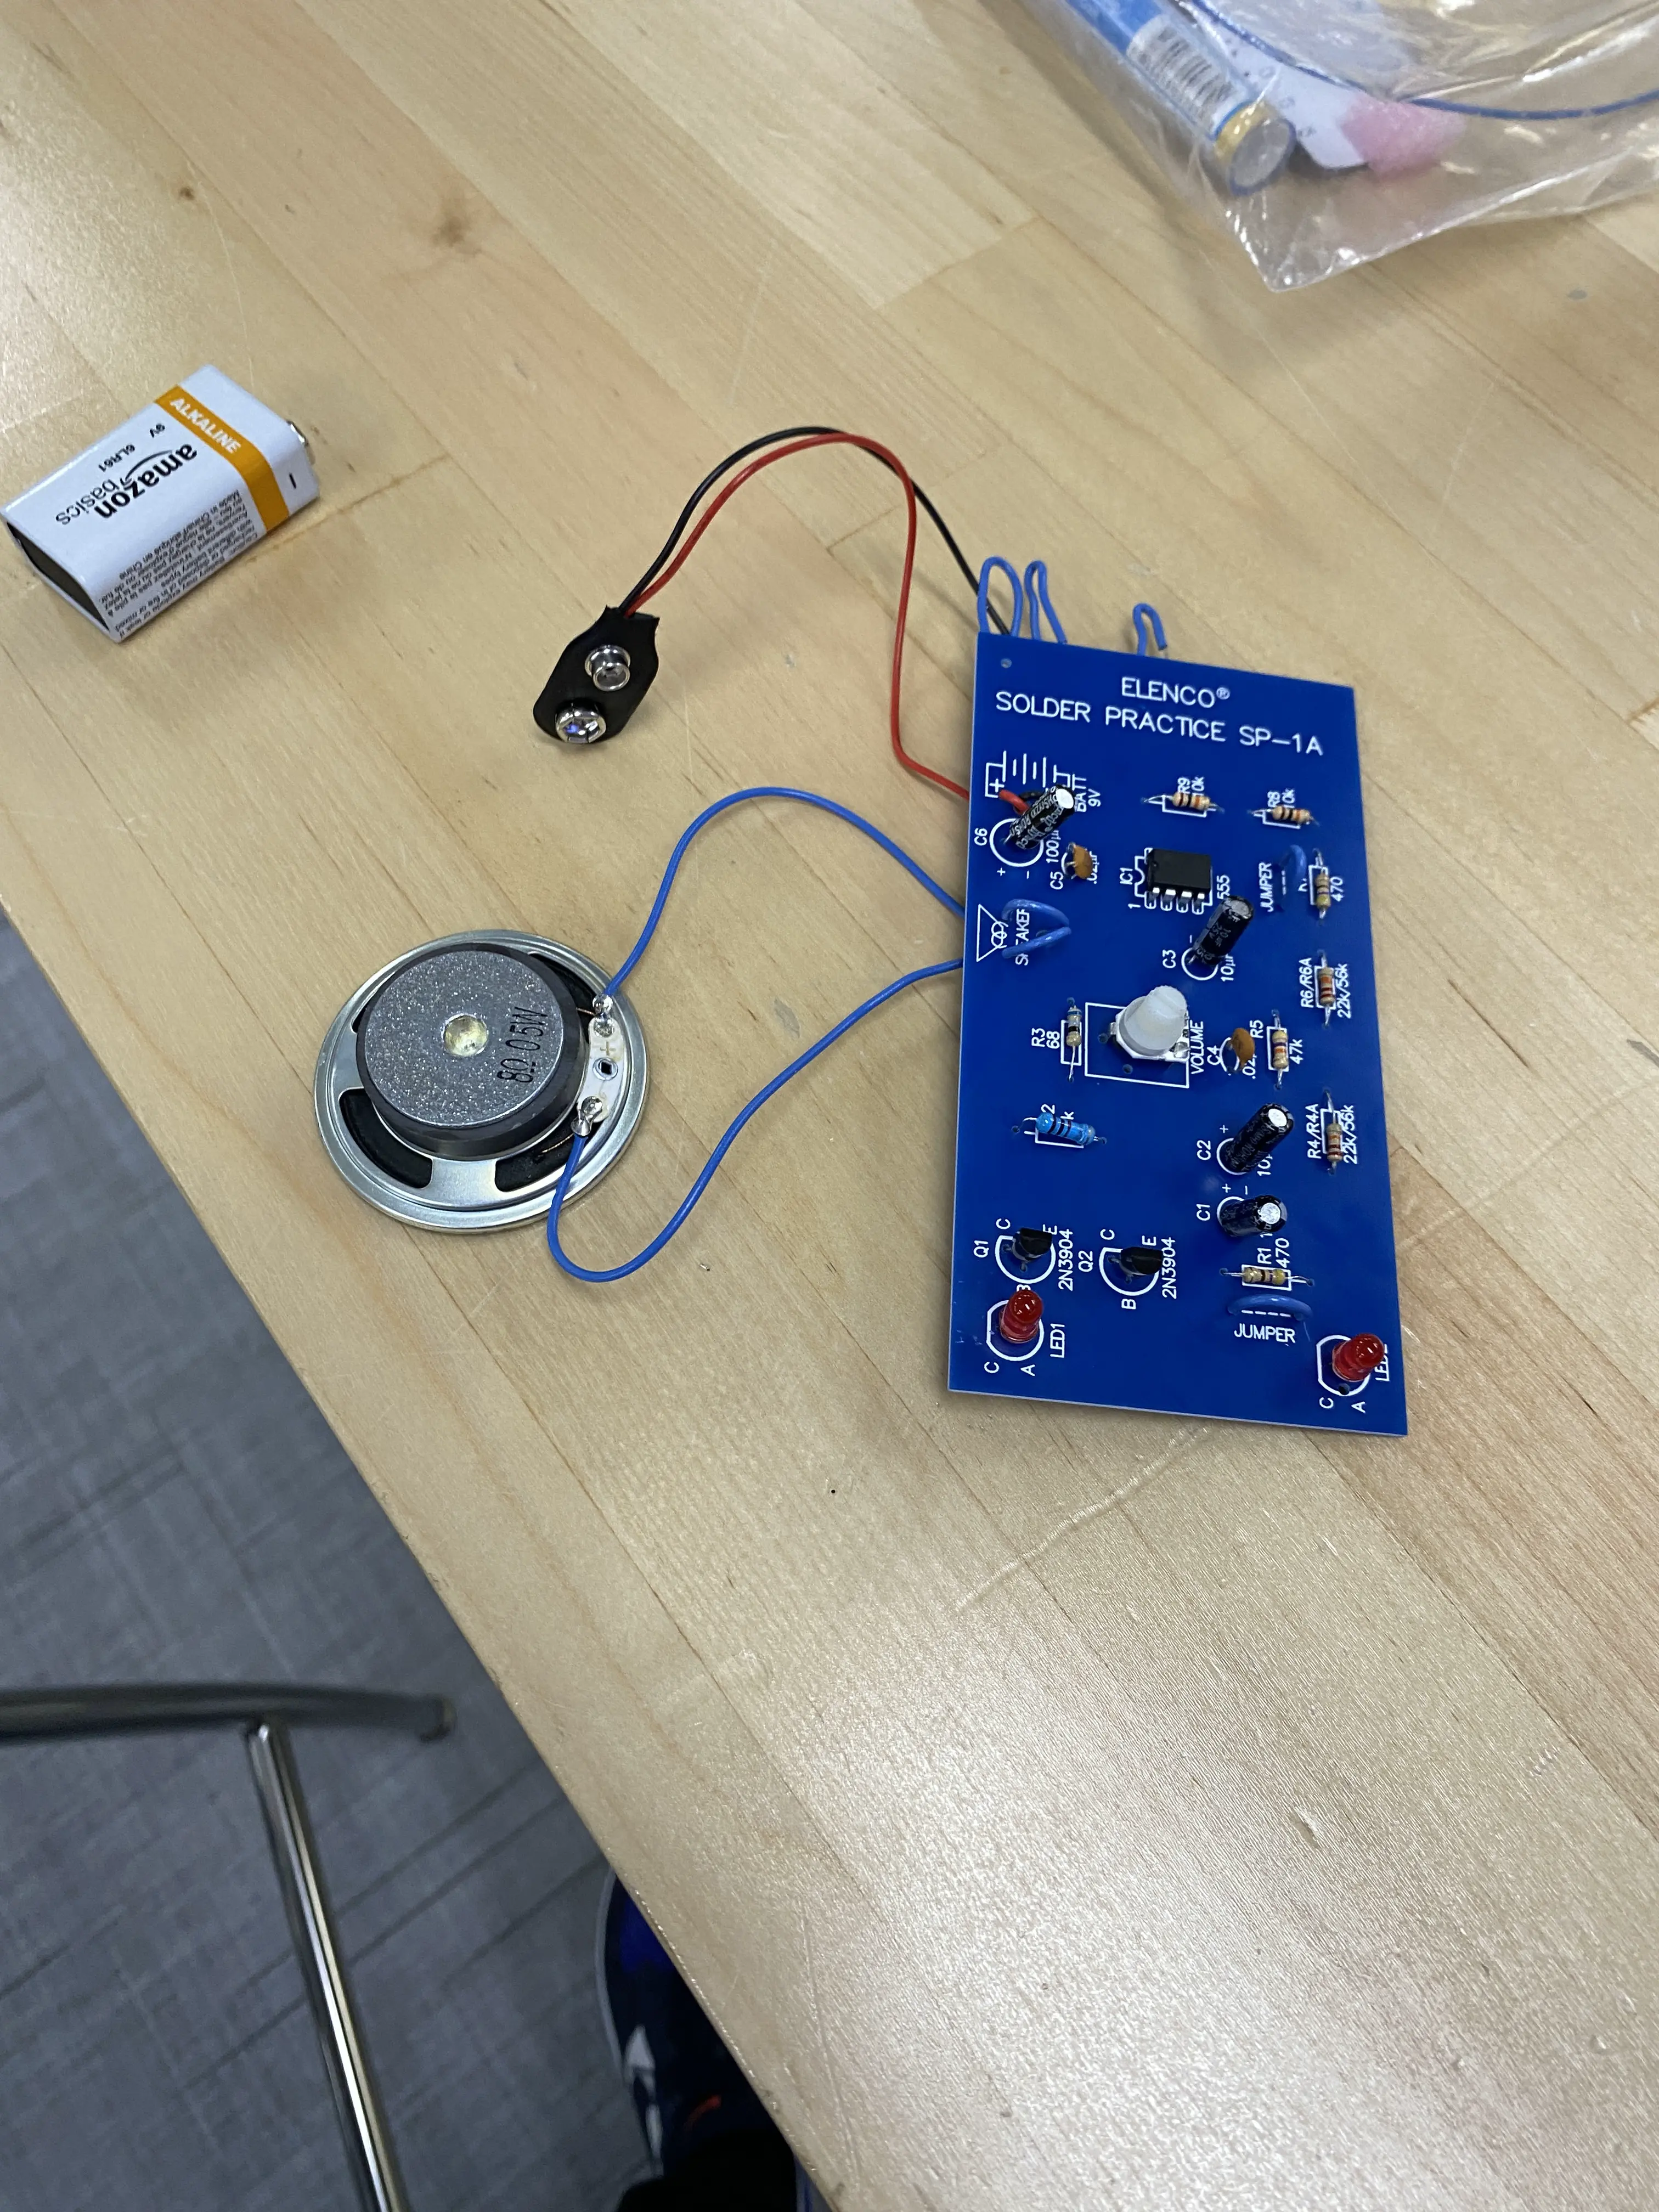
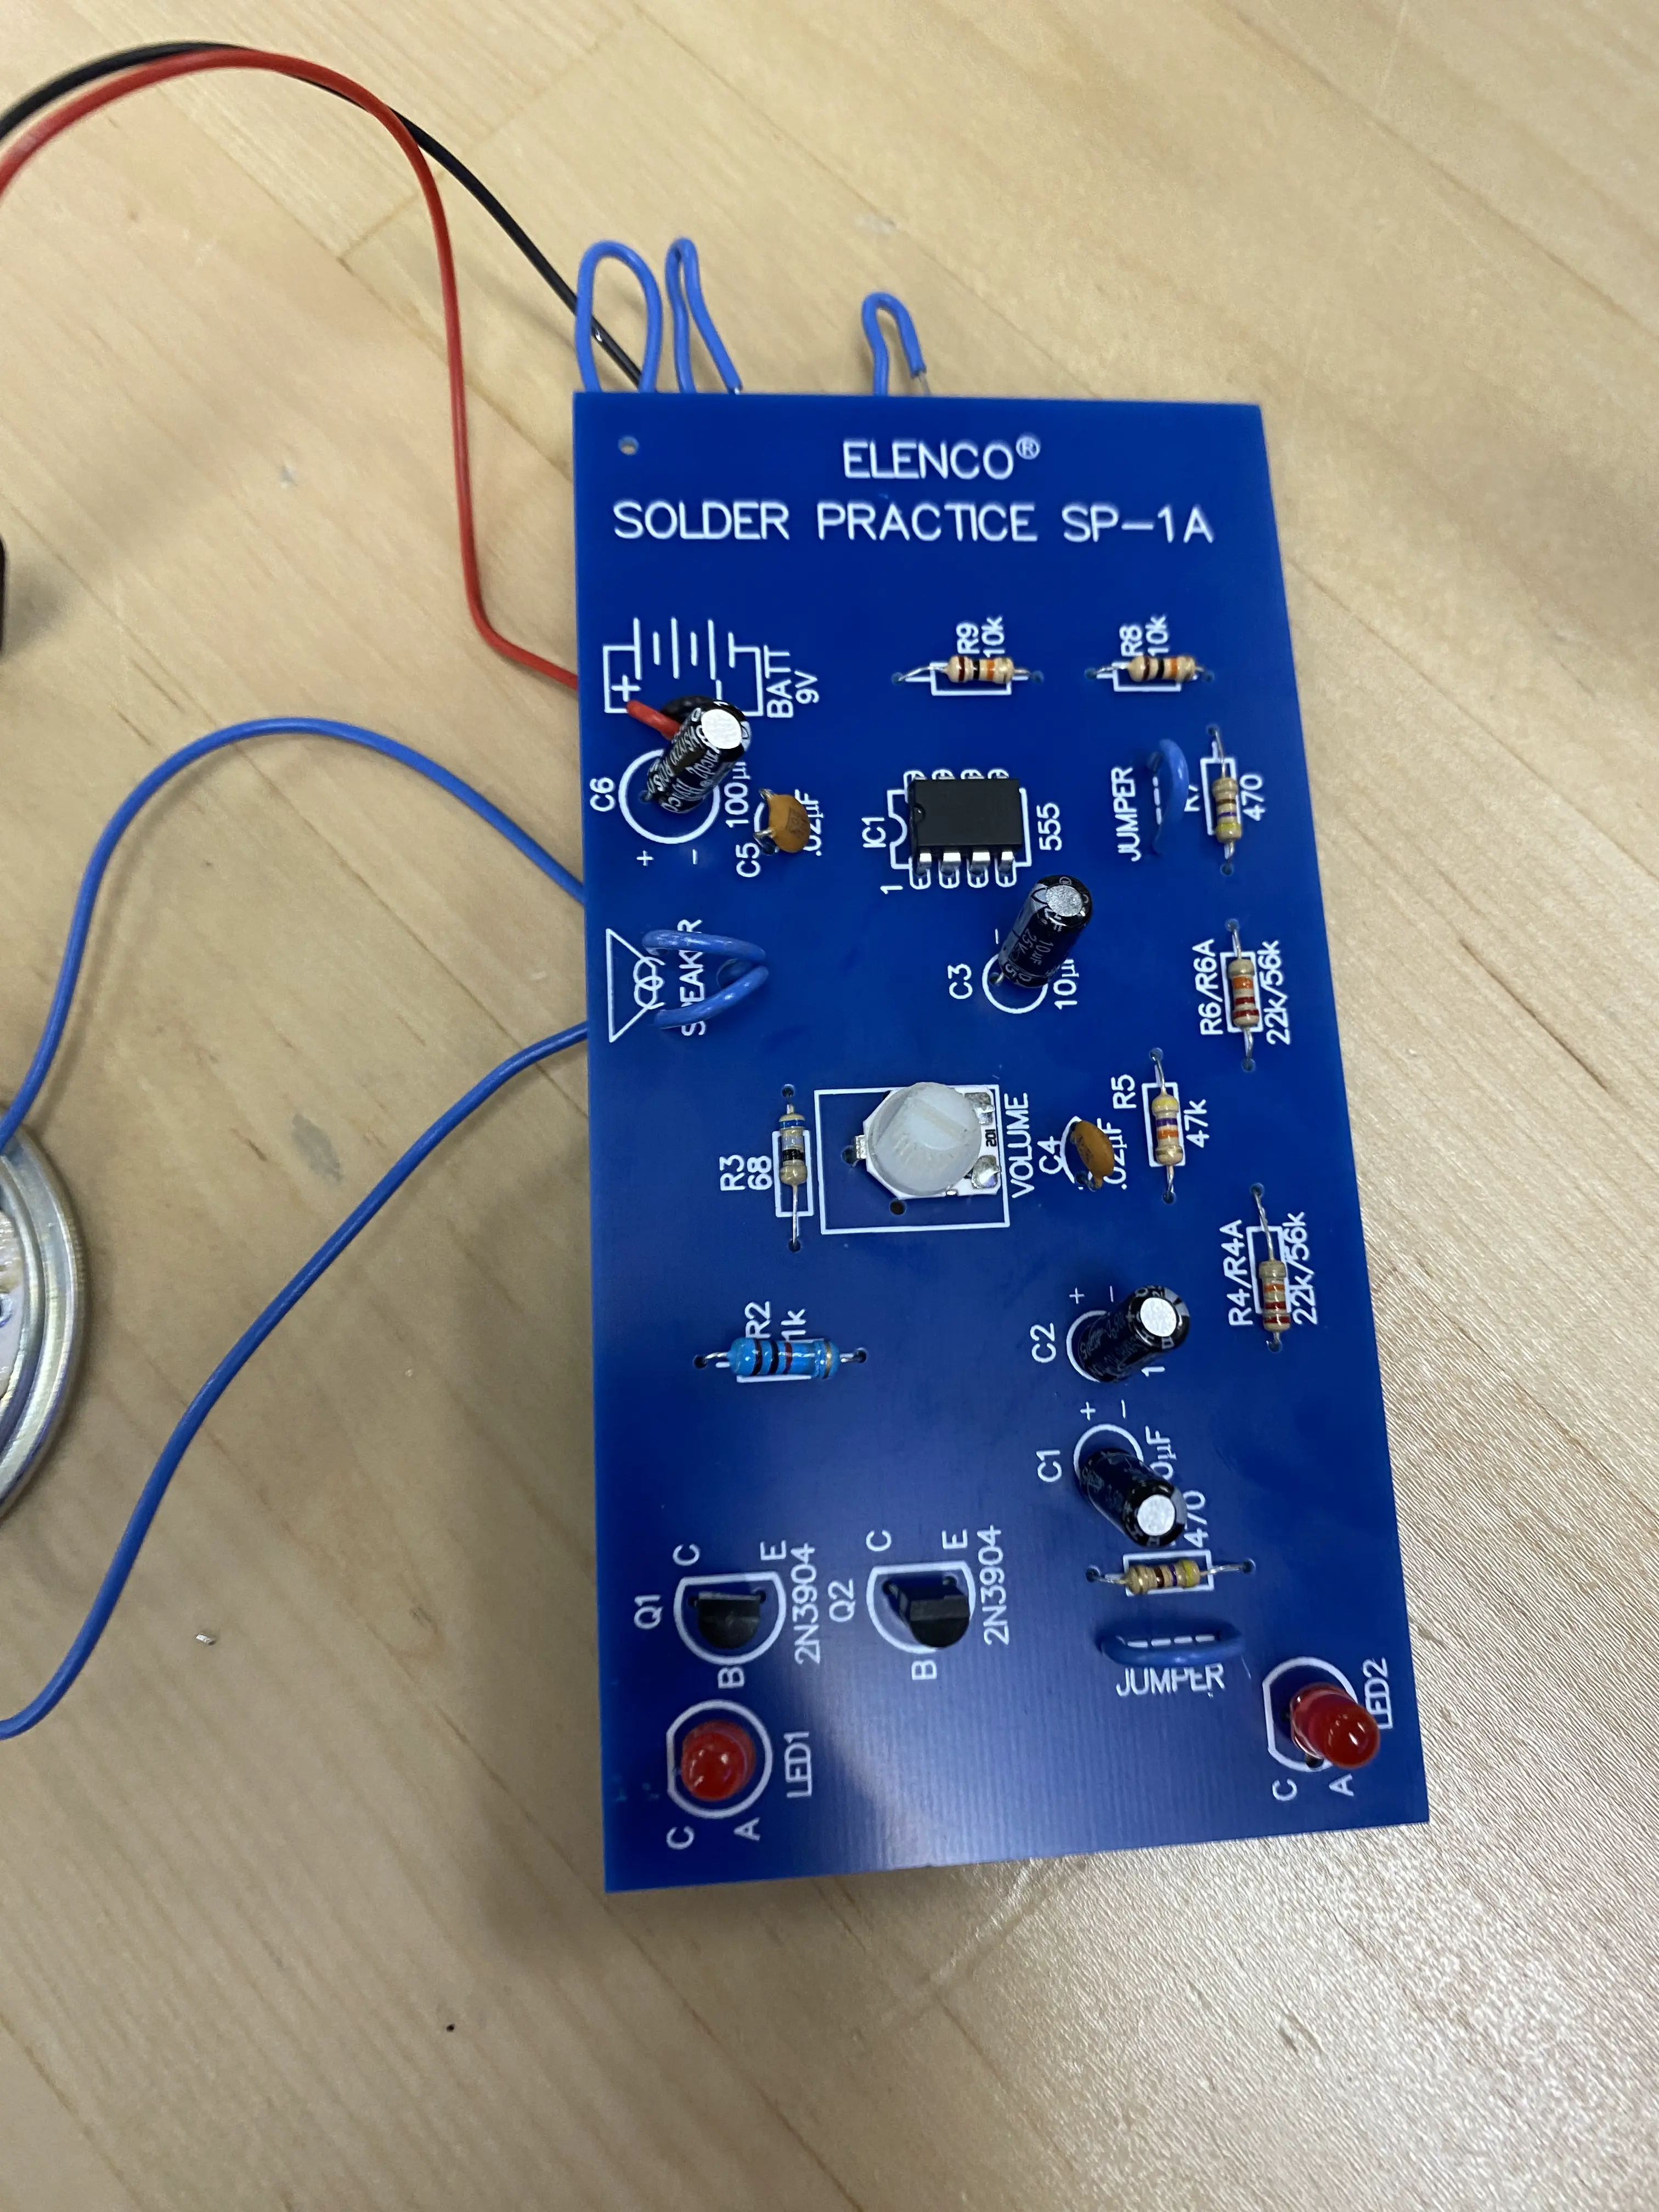
To our delight, the circuit worked on the first attempt, with LEDs lighting up and the speaker emitting a siren sound. We noticed that adjusting the speaker volume changed the pitch due to the low-quality components.
Messing Around
After finishing the soldering work and capturing all our photos and videos, I felt let down by the speaker’s annoying siren sound. So, I soldered some extra wire to the speaker, connected it to an Arduino, and programmed it to play catchy buzzer tunes. Evan was doubtful and worried I might break something, but the music turned out great. This proved that a little fun and creativity could be mixed into any project.
Big shoutout to Robson Couto for the music code from his Arduino songs on GitHub. It was the perfect finishing touch to our project, and it showed that with a bit of code, you can turn a simple speaker into something awesome.
