3D Printing a Lego Brick
Designing and printing a LEGO clone!
Project Introduction
In my engineering class, I had to complete three design projects independently. My first project involved modeling and 3D printing the iconic 2x4 Lego brick. The goal of this project was to familiarize myself with CAD design and using 3D printers. I faced a few setbacks along the way, but at the end I was able to print a functioned Lego brick!
Design Journey
Since I had to use Autodesk Fusion 360, my teacher provided a step-by-step YouTube tutorial that covered designing a display Lego brick; the video, “How to 3D Model a Lego Brick in Fusion 360,” was quite helpful for creating the basic shape of the brick. However, it didn’t show how to add the underside studs that appeara on a normal Lego brick.
The only significant issue I faced while following the video was placing the “LEGO” text on the studs. For whatever reason, I could not get the text to fit or position correctly. The text was consistently too big. I tried changing fonts, but that didn’t help. I eventually gave up and decided not to use text and instead opted to extrude various SVGs on top of each stud.
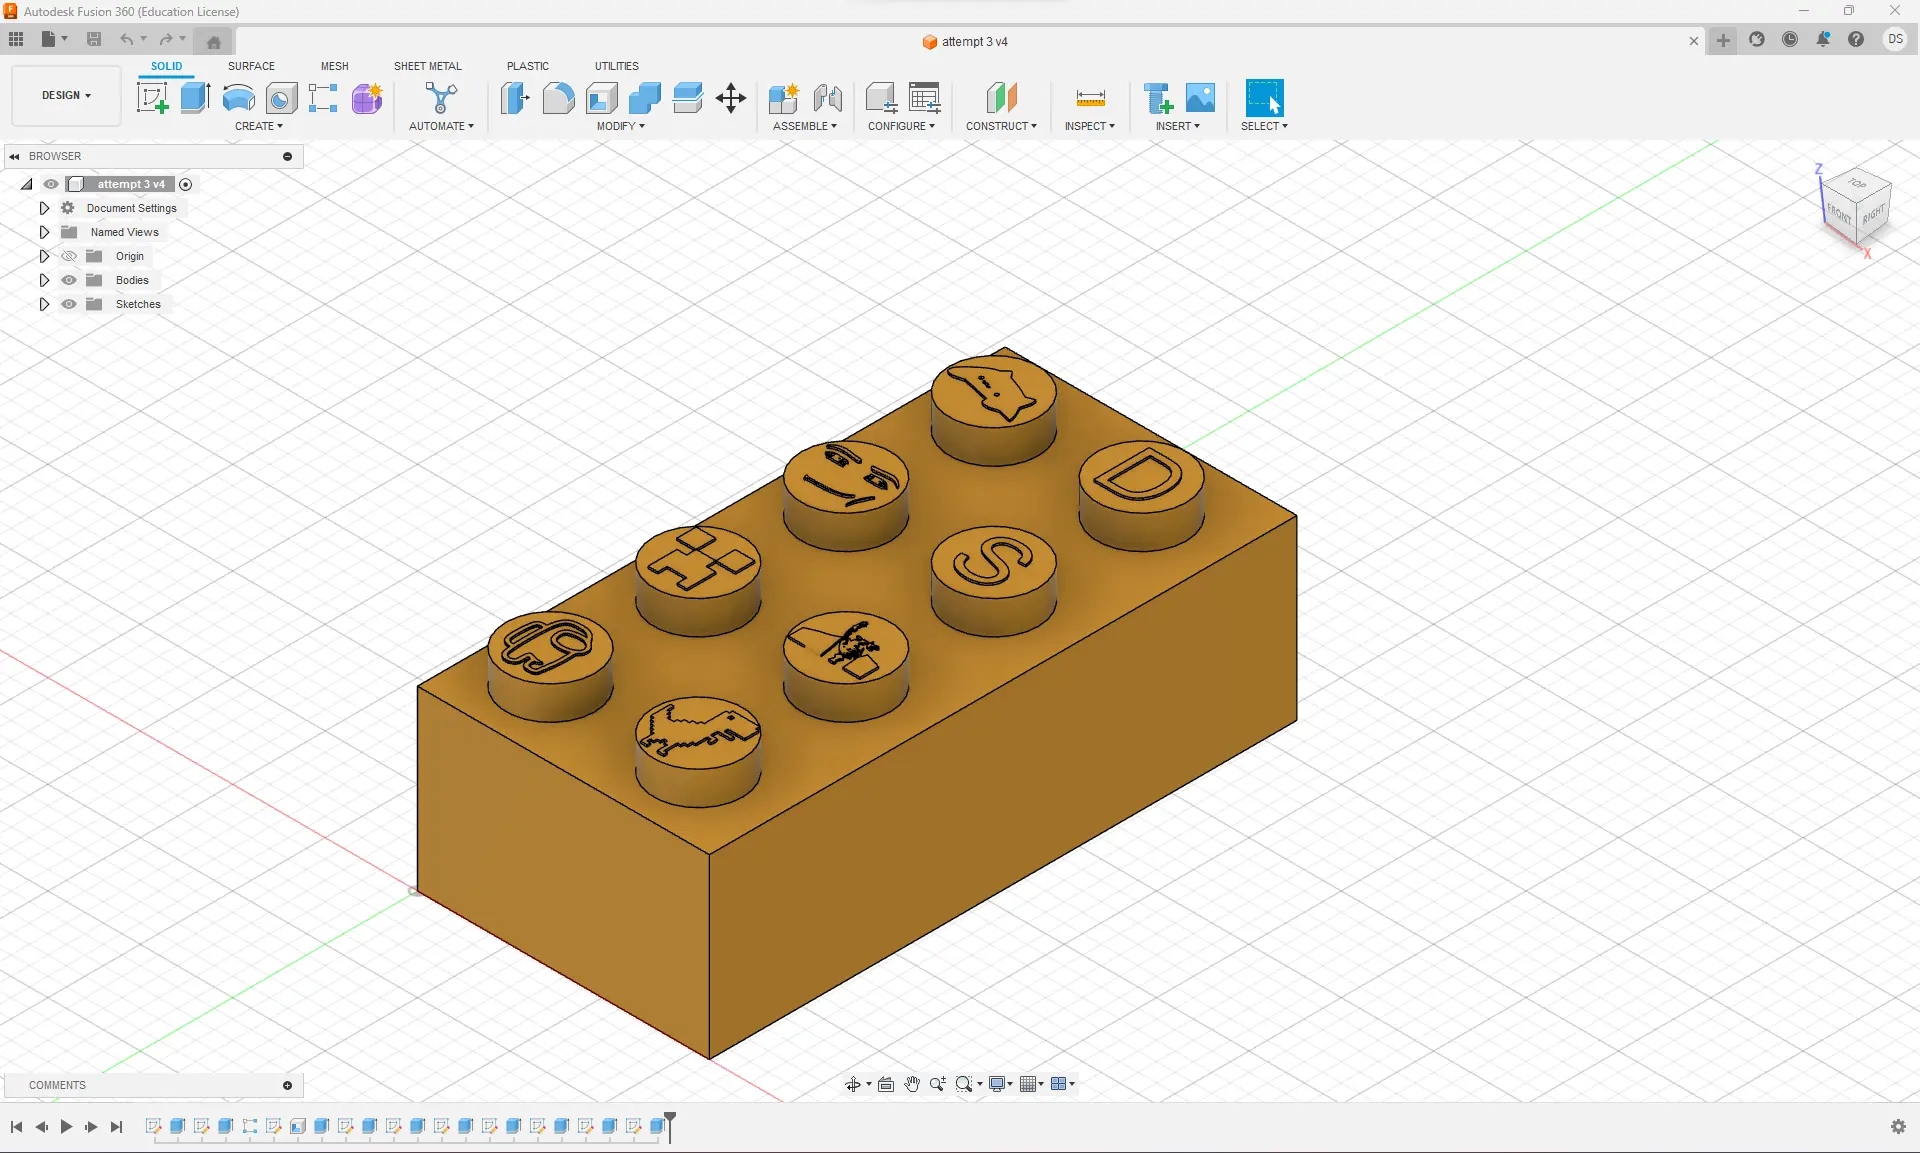
I used various SVGs I fouind online, like vectors of Bongo Cat, the Minecraft Creeper face, and the Chrome Dino. I also put my initials on two studs. For one stud, I also put the Donald Trump mugshot, which was recently released. I used Inkscape to convert the raster image into a vector.
I knew the printers at school would not be accurate enough to print these, but it was fun learning how to extrude SVGs onto my designs in Fusion.
Print Time!
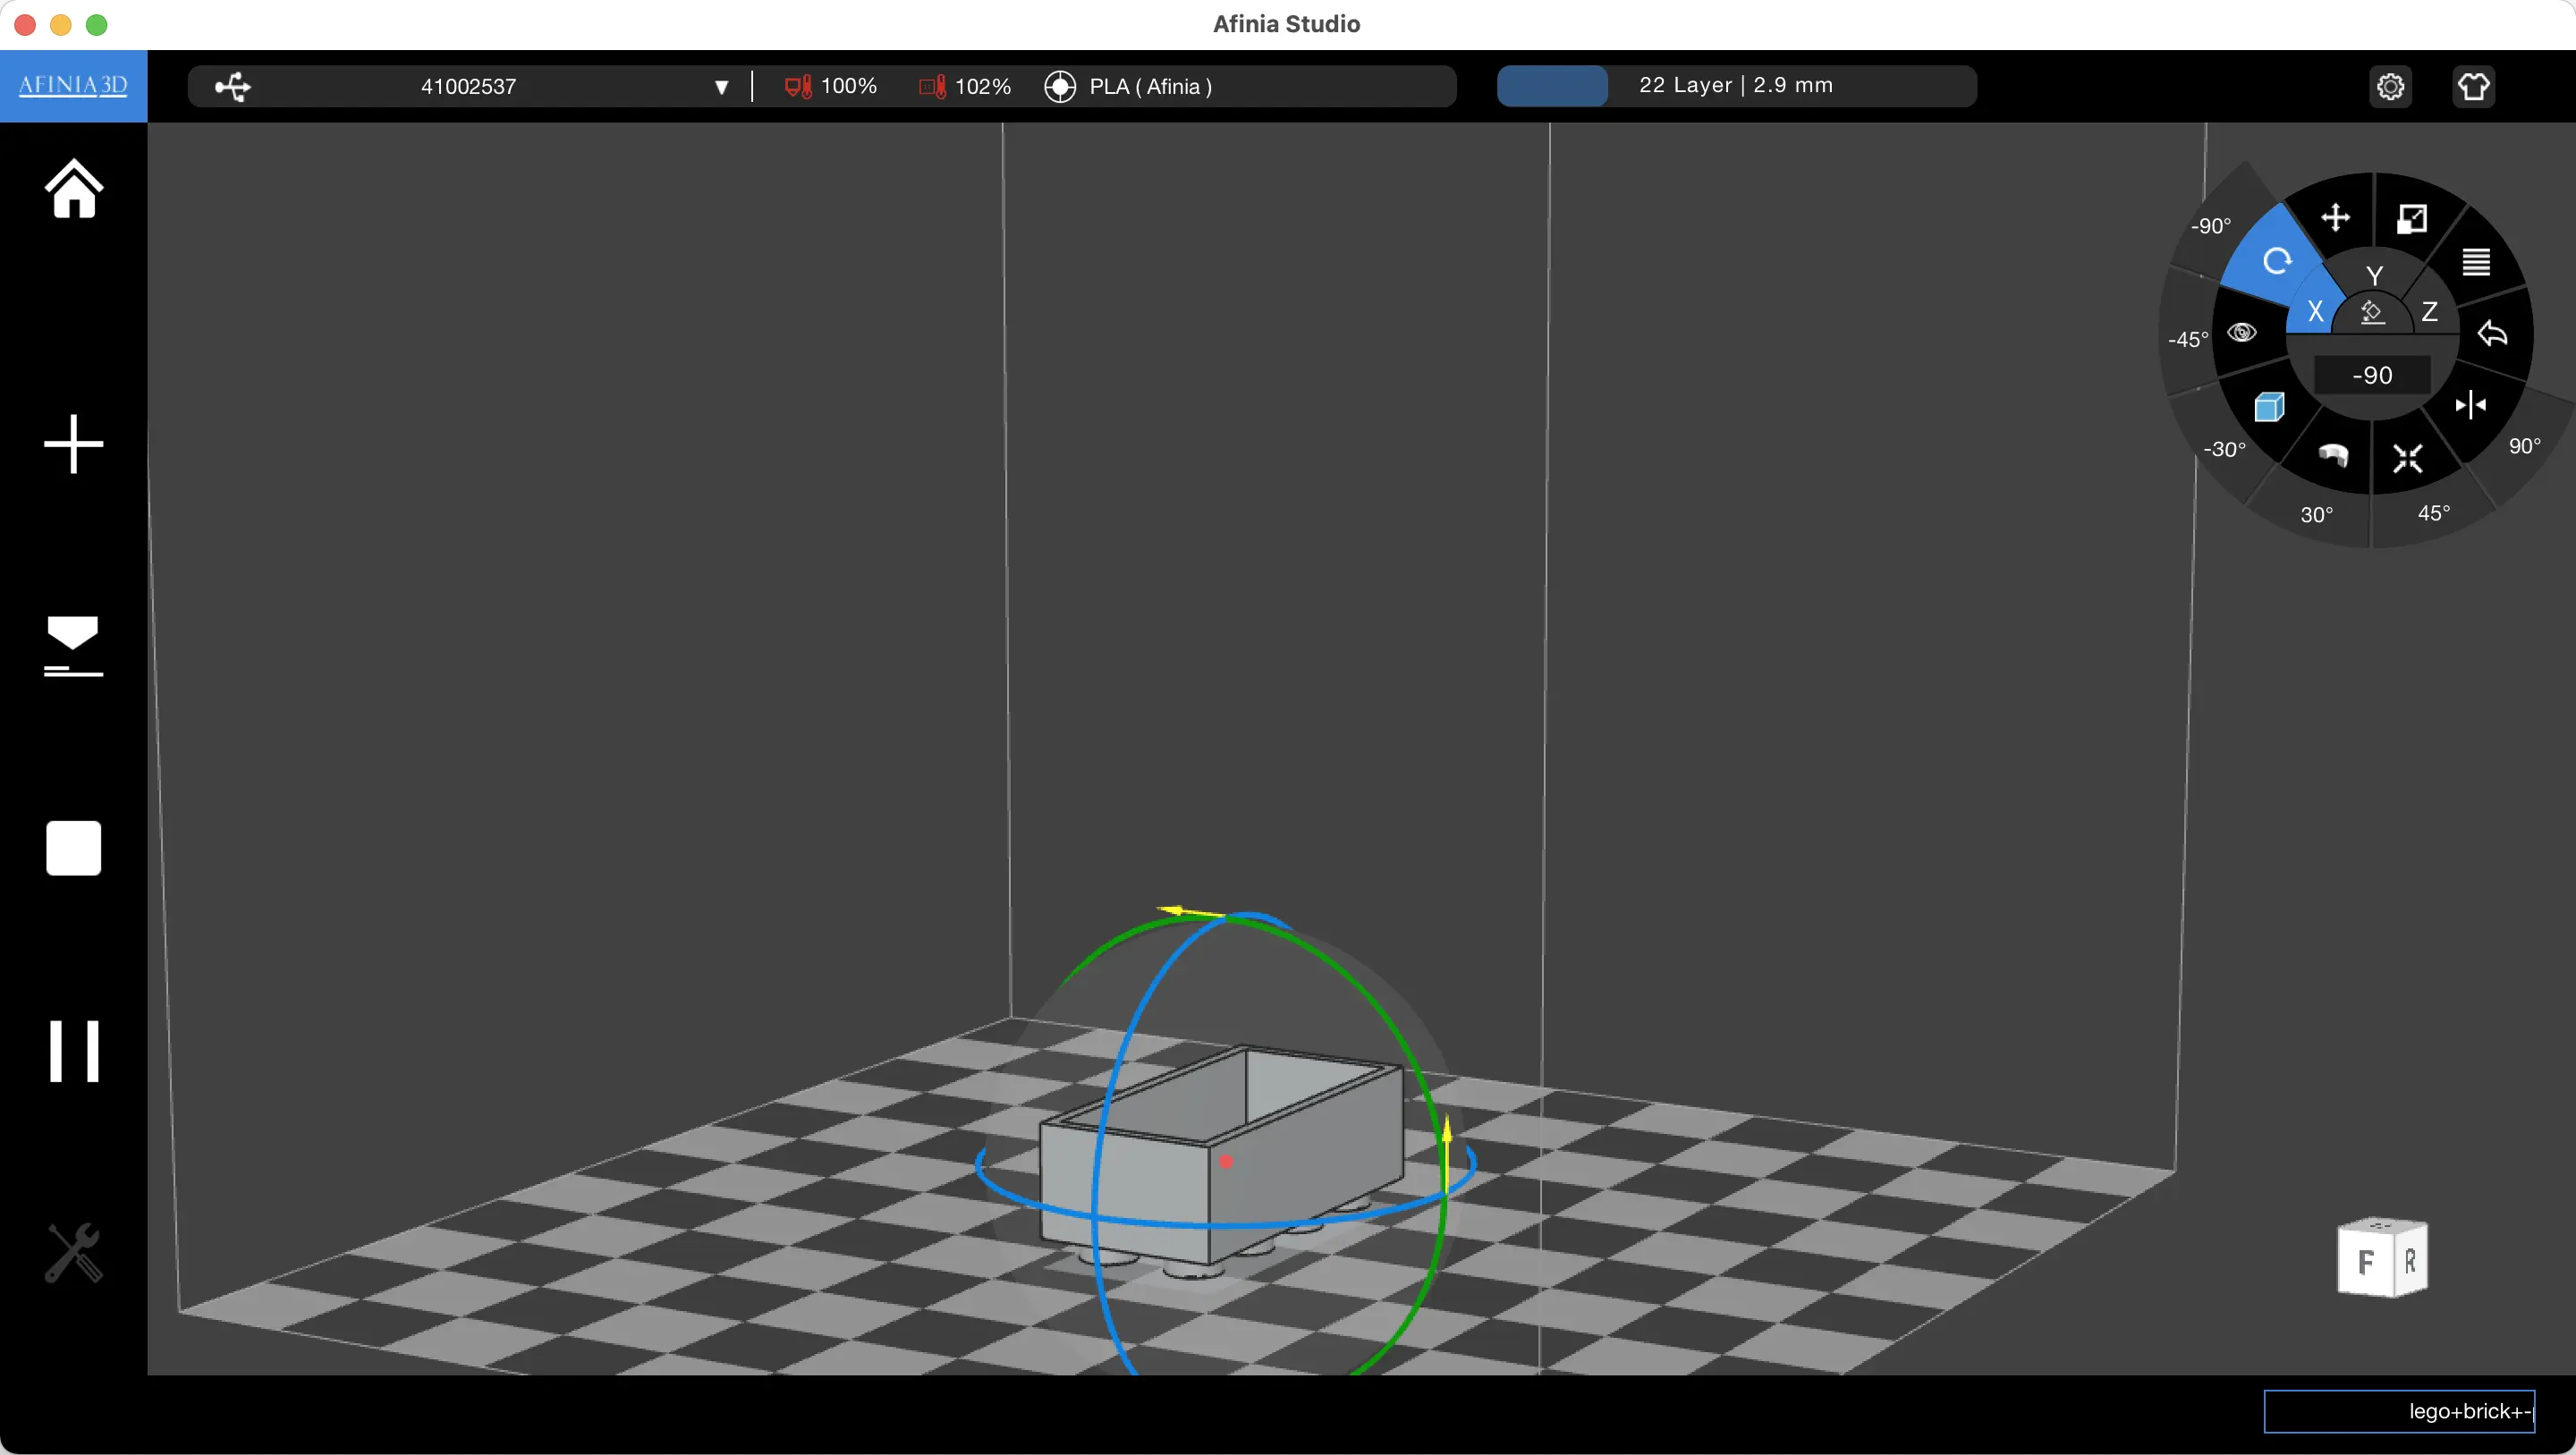
In our class, we have several 3D printers to choose from, including an Afinia H+1 and four Afinia H400’s. I opted to use the H+1 since it was the only one not being used at the time and had the largest print area. I initially ran into an issue previewing the STL file I exported from Fusion when using Afinia Studio. I could not get Afinia to display a preview of my brick, no matter how many times I relaunched the app, restarted the computer, and switched laptops. I assumed the software was either outdated or broken on each one. However, that wasn’t the case; I had to have a printer plugged into the computer to see the preview environment. I guess this is so the software can configure the preview environment based on the printer settings. I’m not sure why Afinia Studio wouldn’t tell the user they can’t preview anything unless a printer is plugged in, but with that annoying issue resolved, I was finally ready to start printing.
While observing some of my classmates, I noticed that many had difficulty removing the supports from their bricks because the supports filled the cavity at the bottom of their print pieces. I had the idea of rotating mine so that the studs faced downward on the print bed to make removing the supports easier and waste less filament.
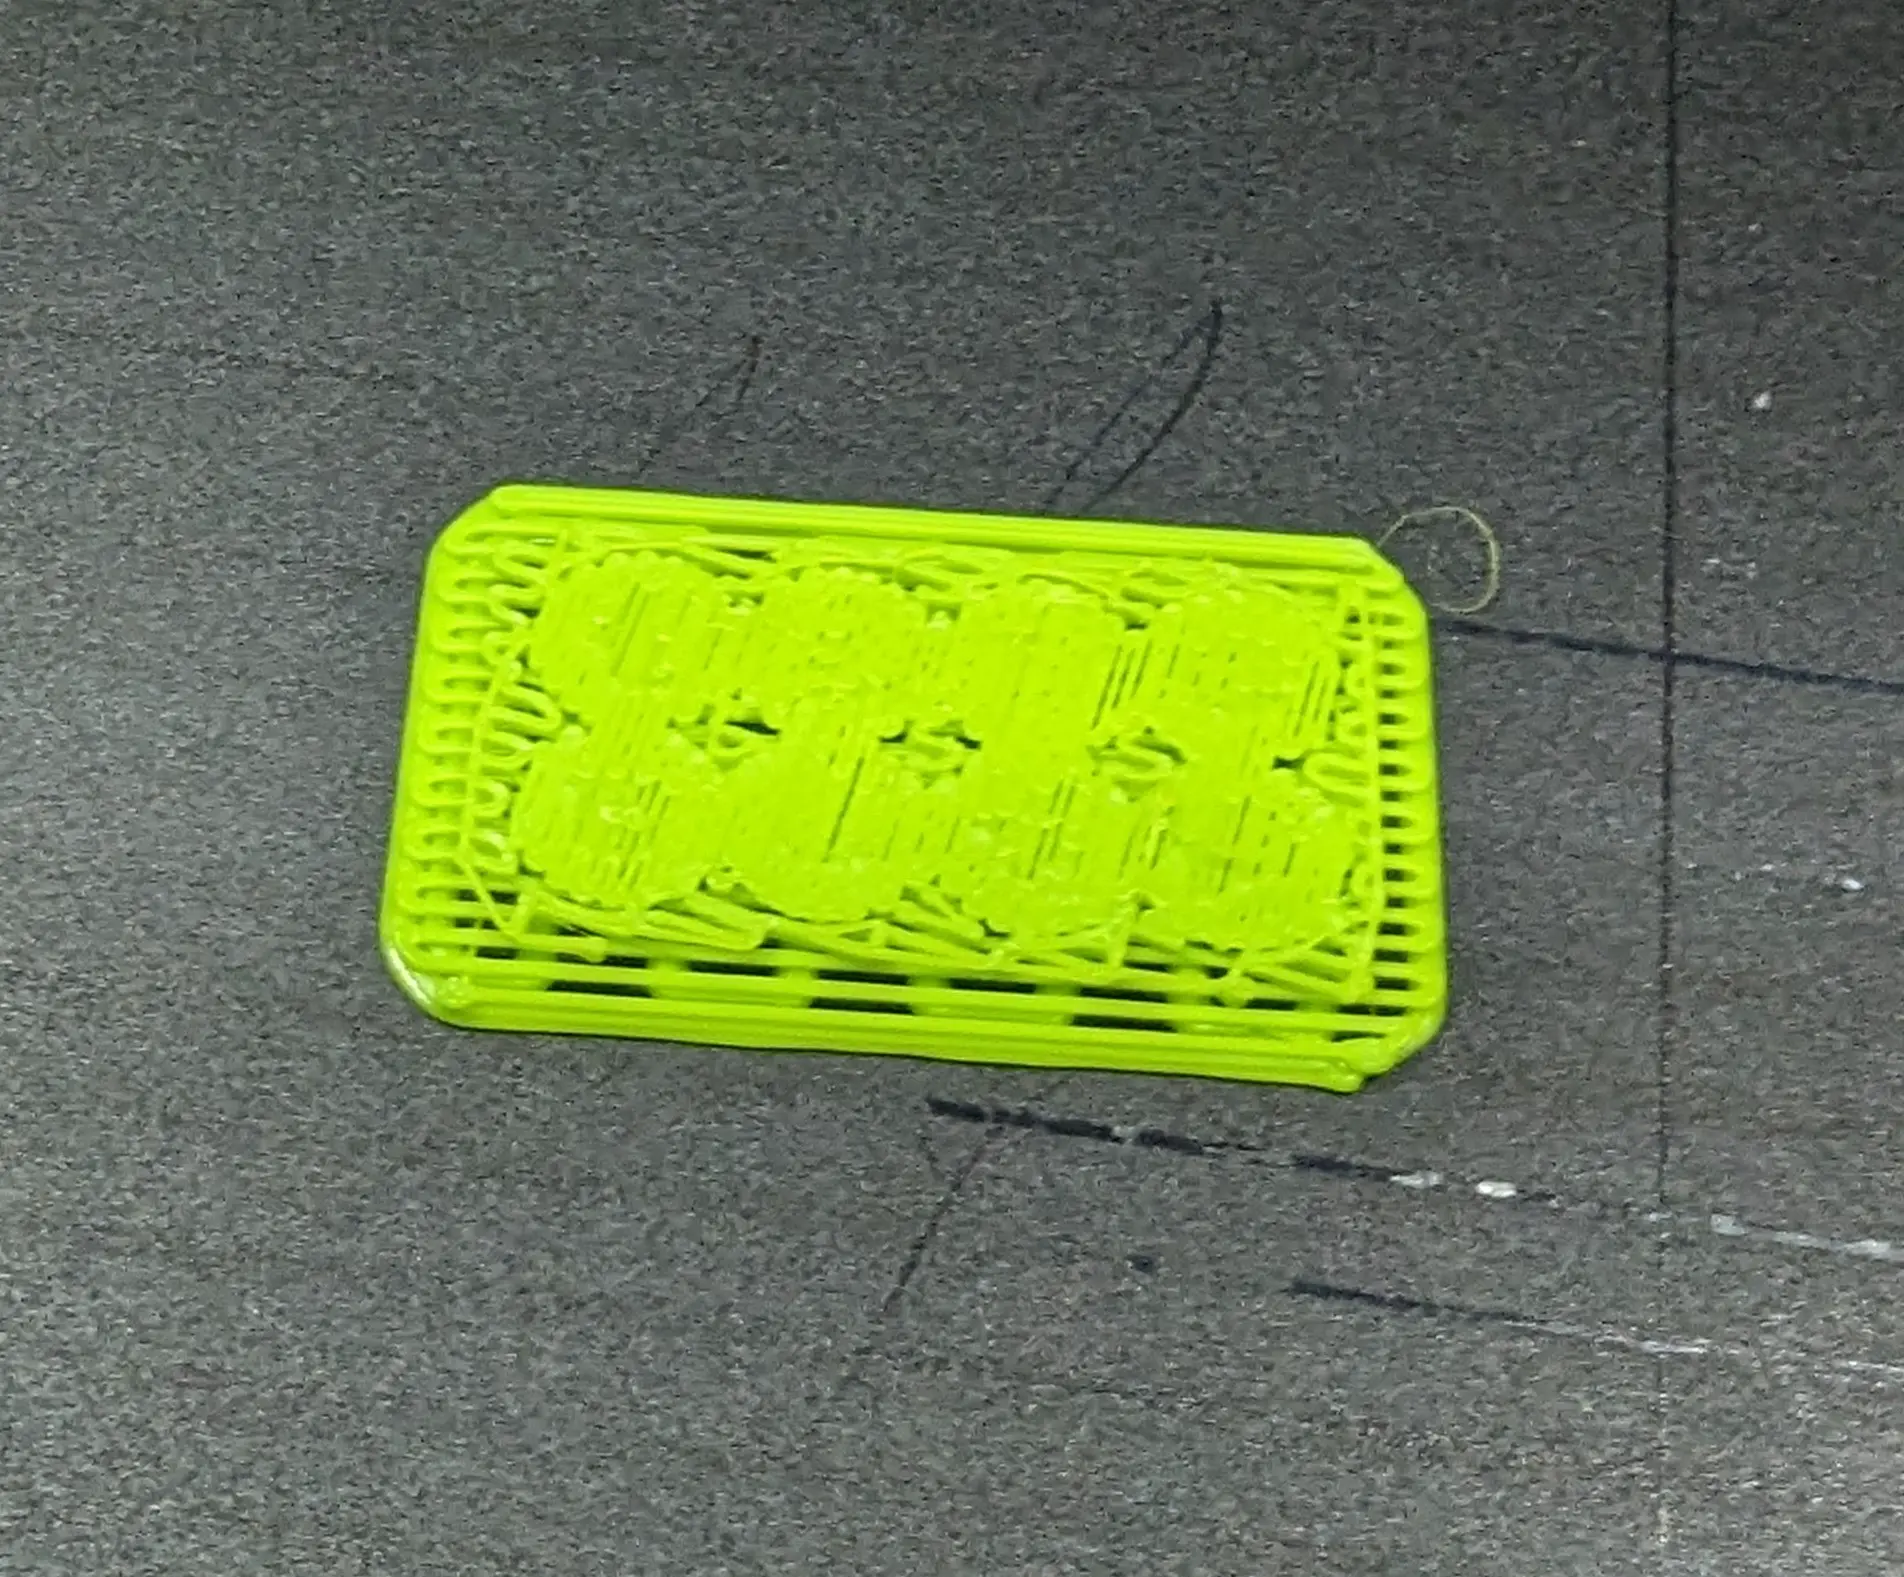
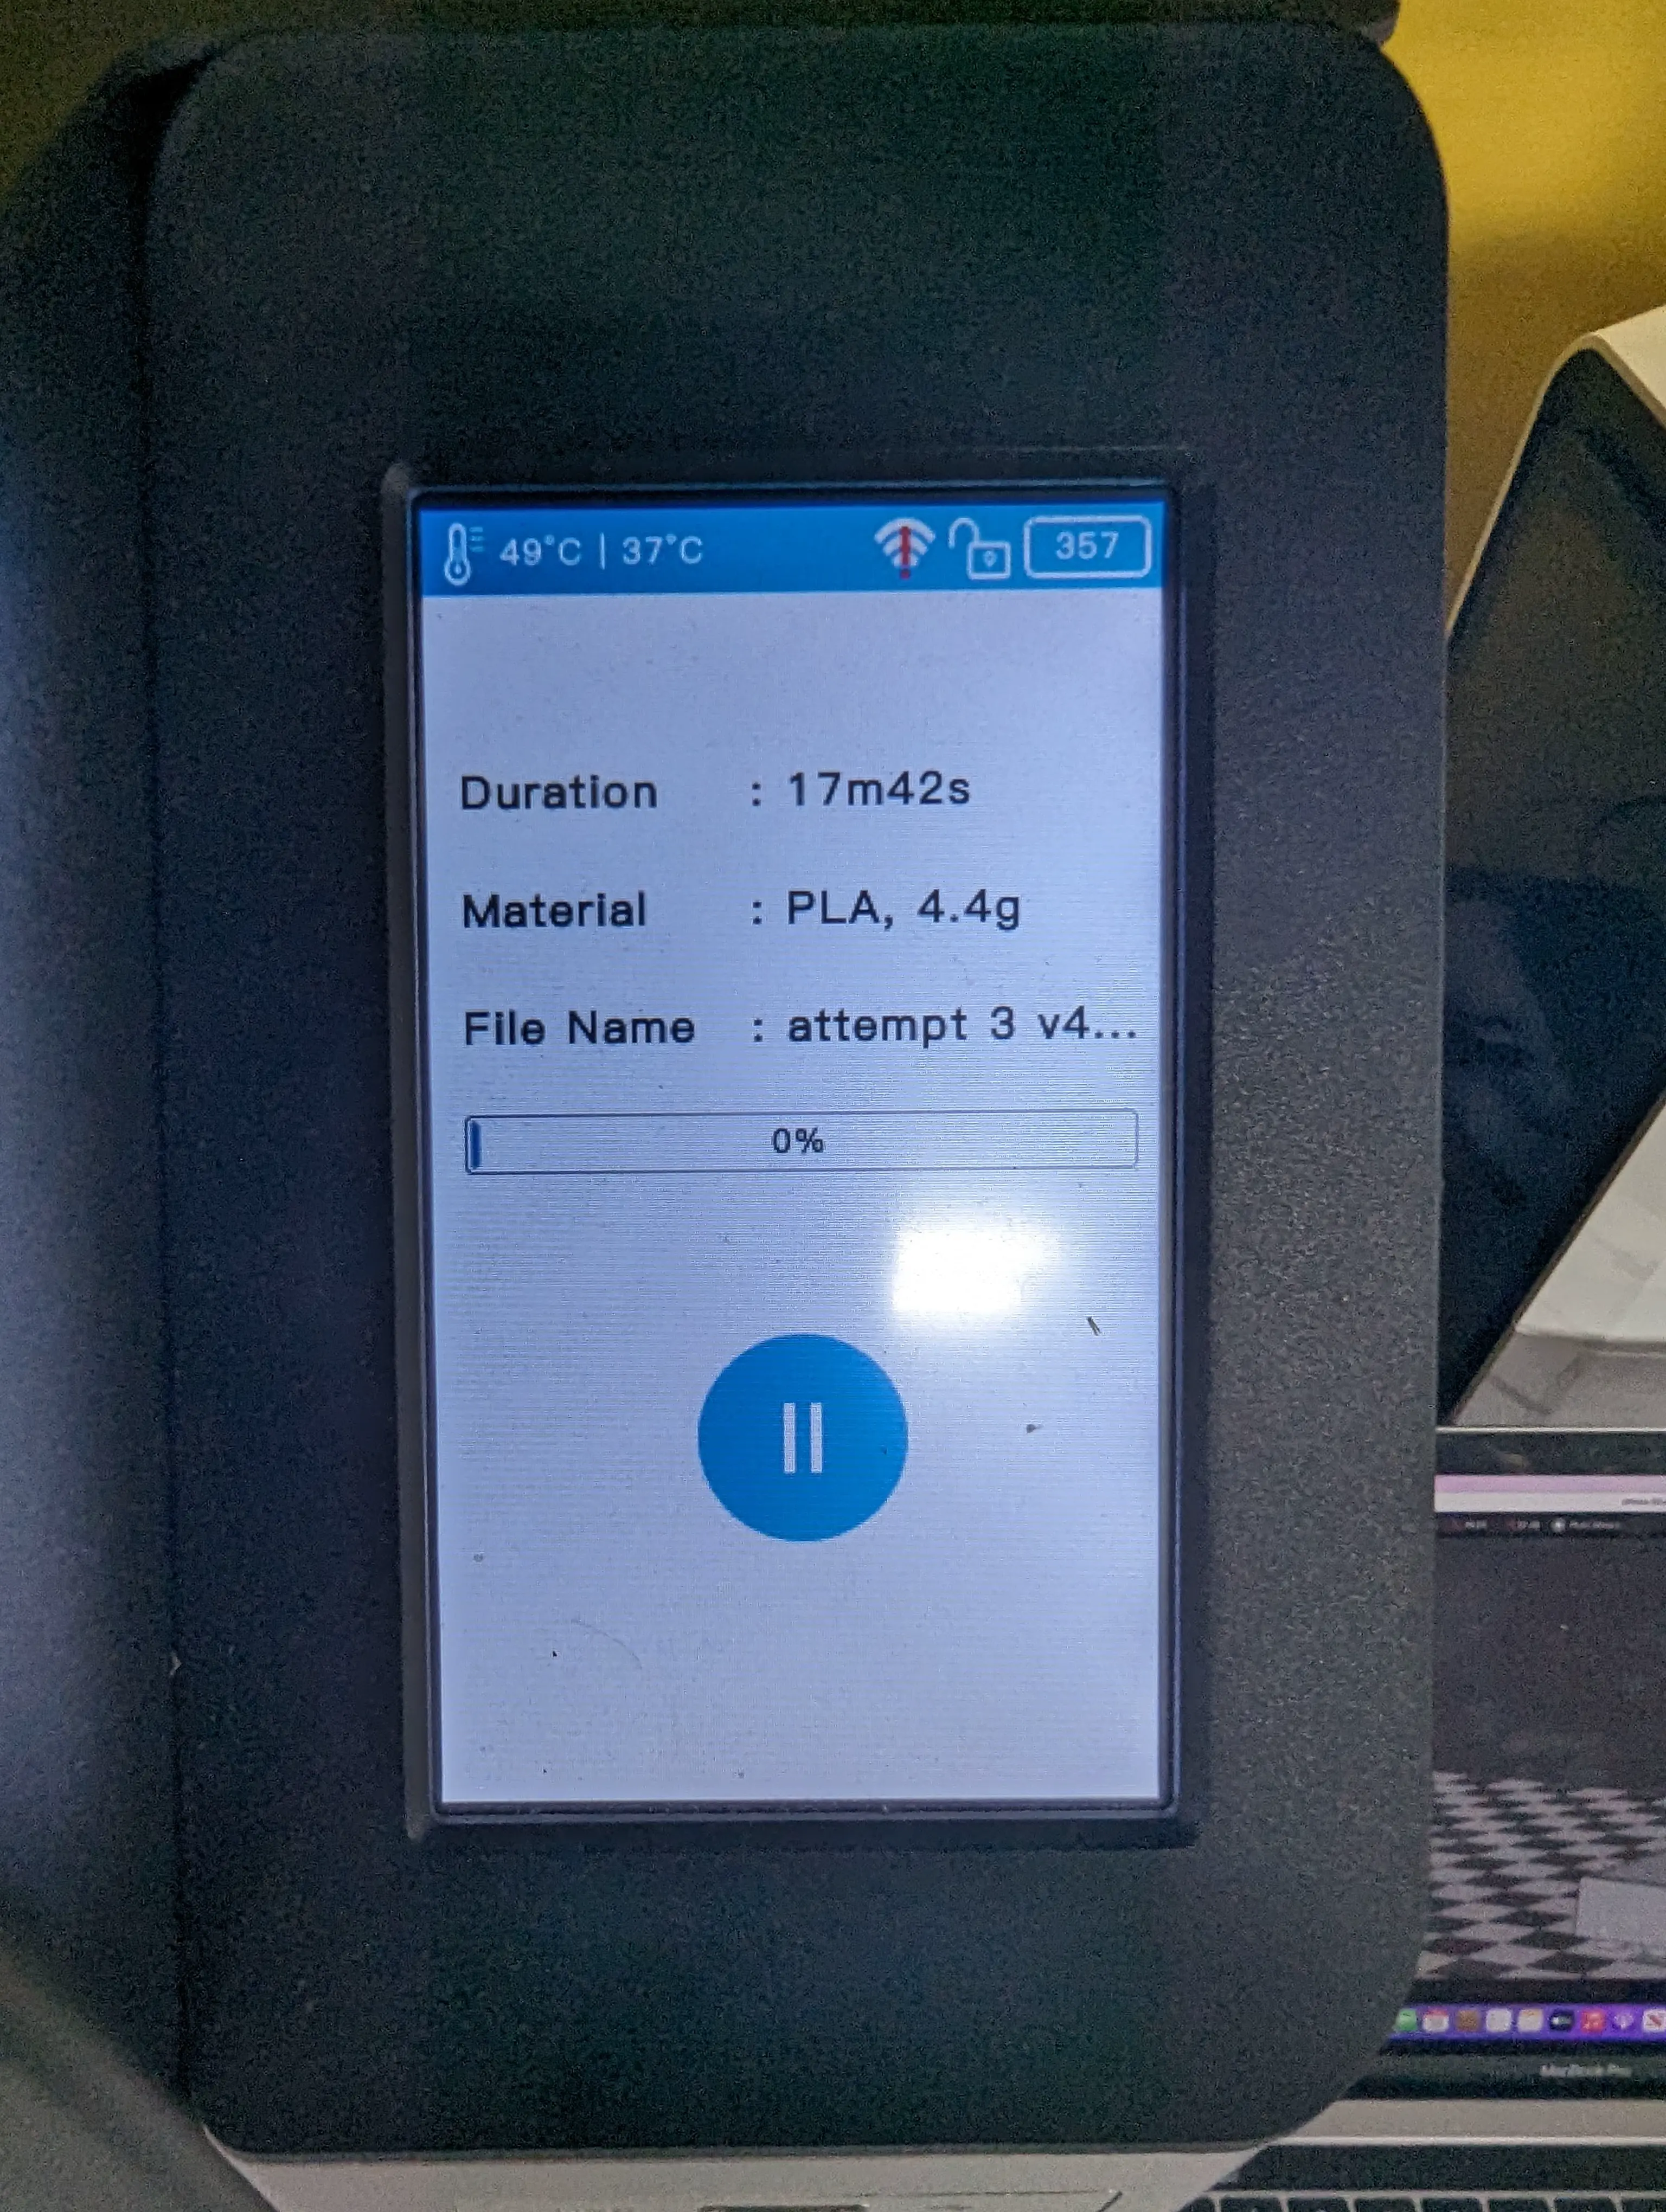
During my first print, the filament spool broke right near the print head, causing the print to fail, which was annoying and frustrating because the print was ruined and a waste of plastic. Initially, I was unsure how to fix the snapped filament. I started by extrudeding the remaining filament in the print head while feeding in the rest of the still intact spool. To ensure this didn’t happen again in the future, I checked to verify that the filament wasn’t caught on anything and that the filament guard tube was properly reaching the print head, which it hadn’t done before. These steps helped me correct the problem and avoid a similar issue in the future. I’ll be more careful about maintaining proper tension on the spool to prevent such breaks. Despite the aggravation, this incident was a learning experience because I had no idea how delicate the filament spool could be.
Watching the printer operate was really satisfying to watch, which made me want to record a video! Here’s a 2-minute video from near the beginning of the print:
Watching the brick print was really satisfying to watch, which made me want to record a video! Here’s a 2-minute video from near the beginning of the print:
The print came out better than I thought. My idea of flipping the brick upside down worked because I didn’t have to waste plastic that much plastic compared to some of my classmates or deal with what I saw them dealing with.
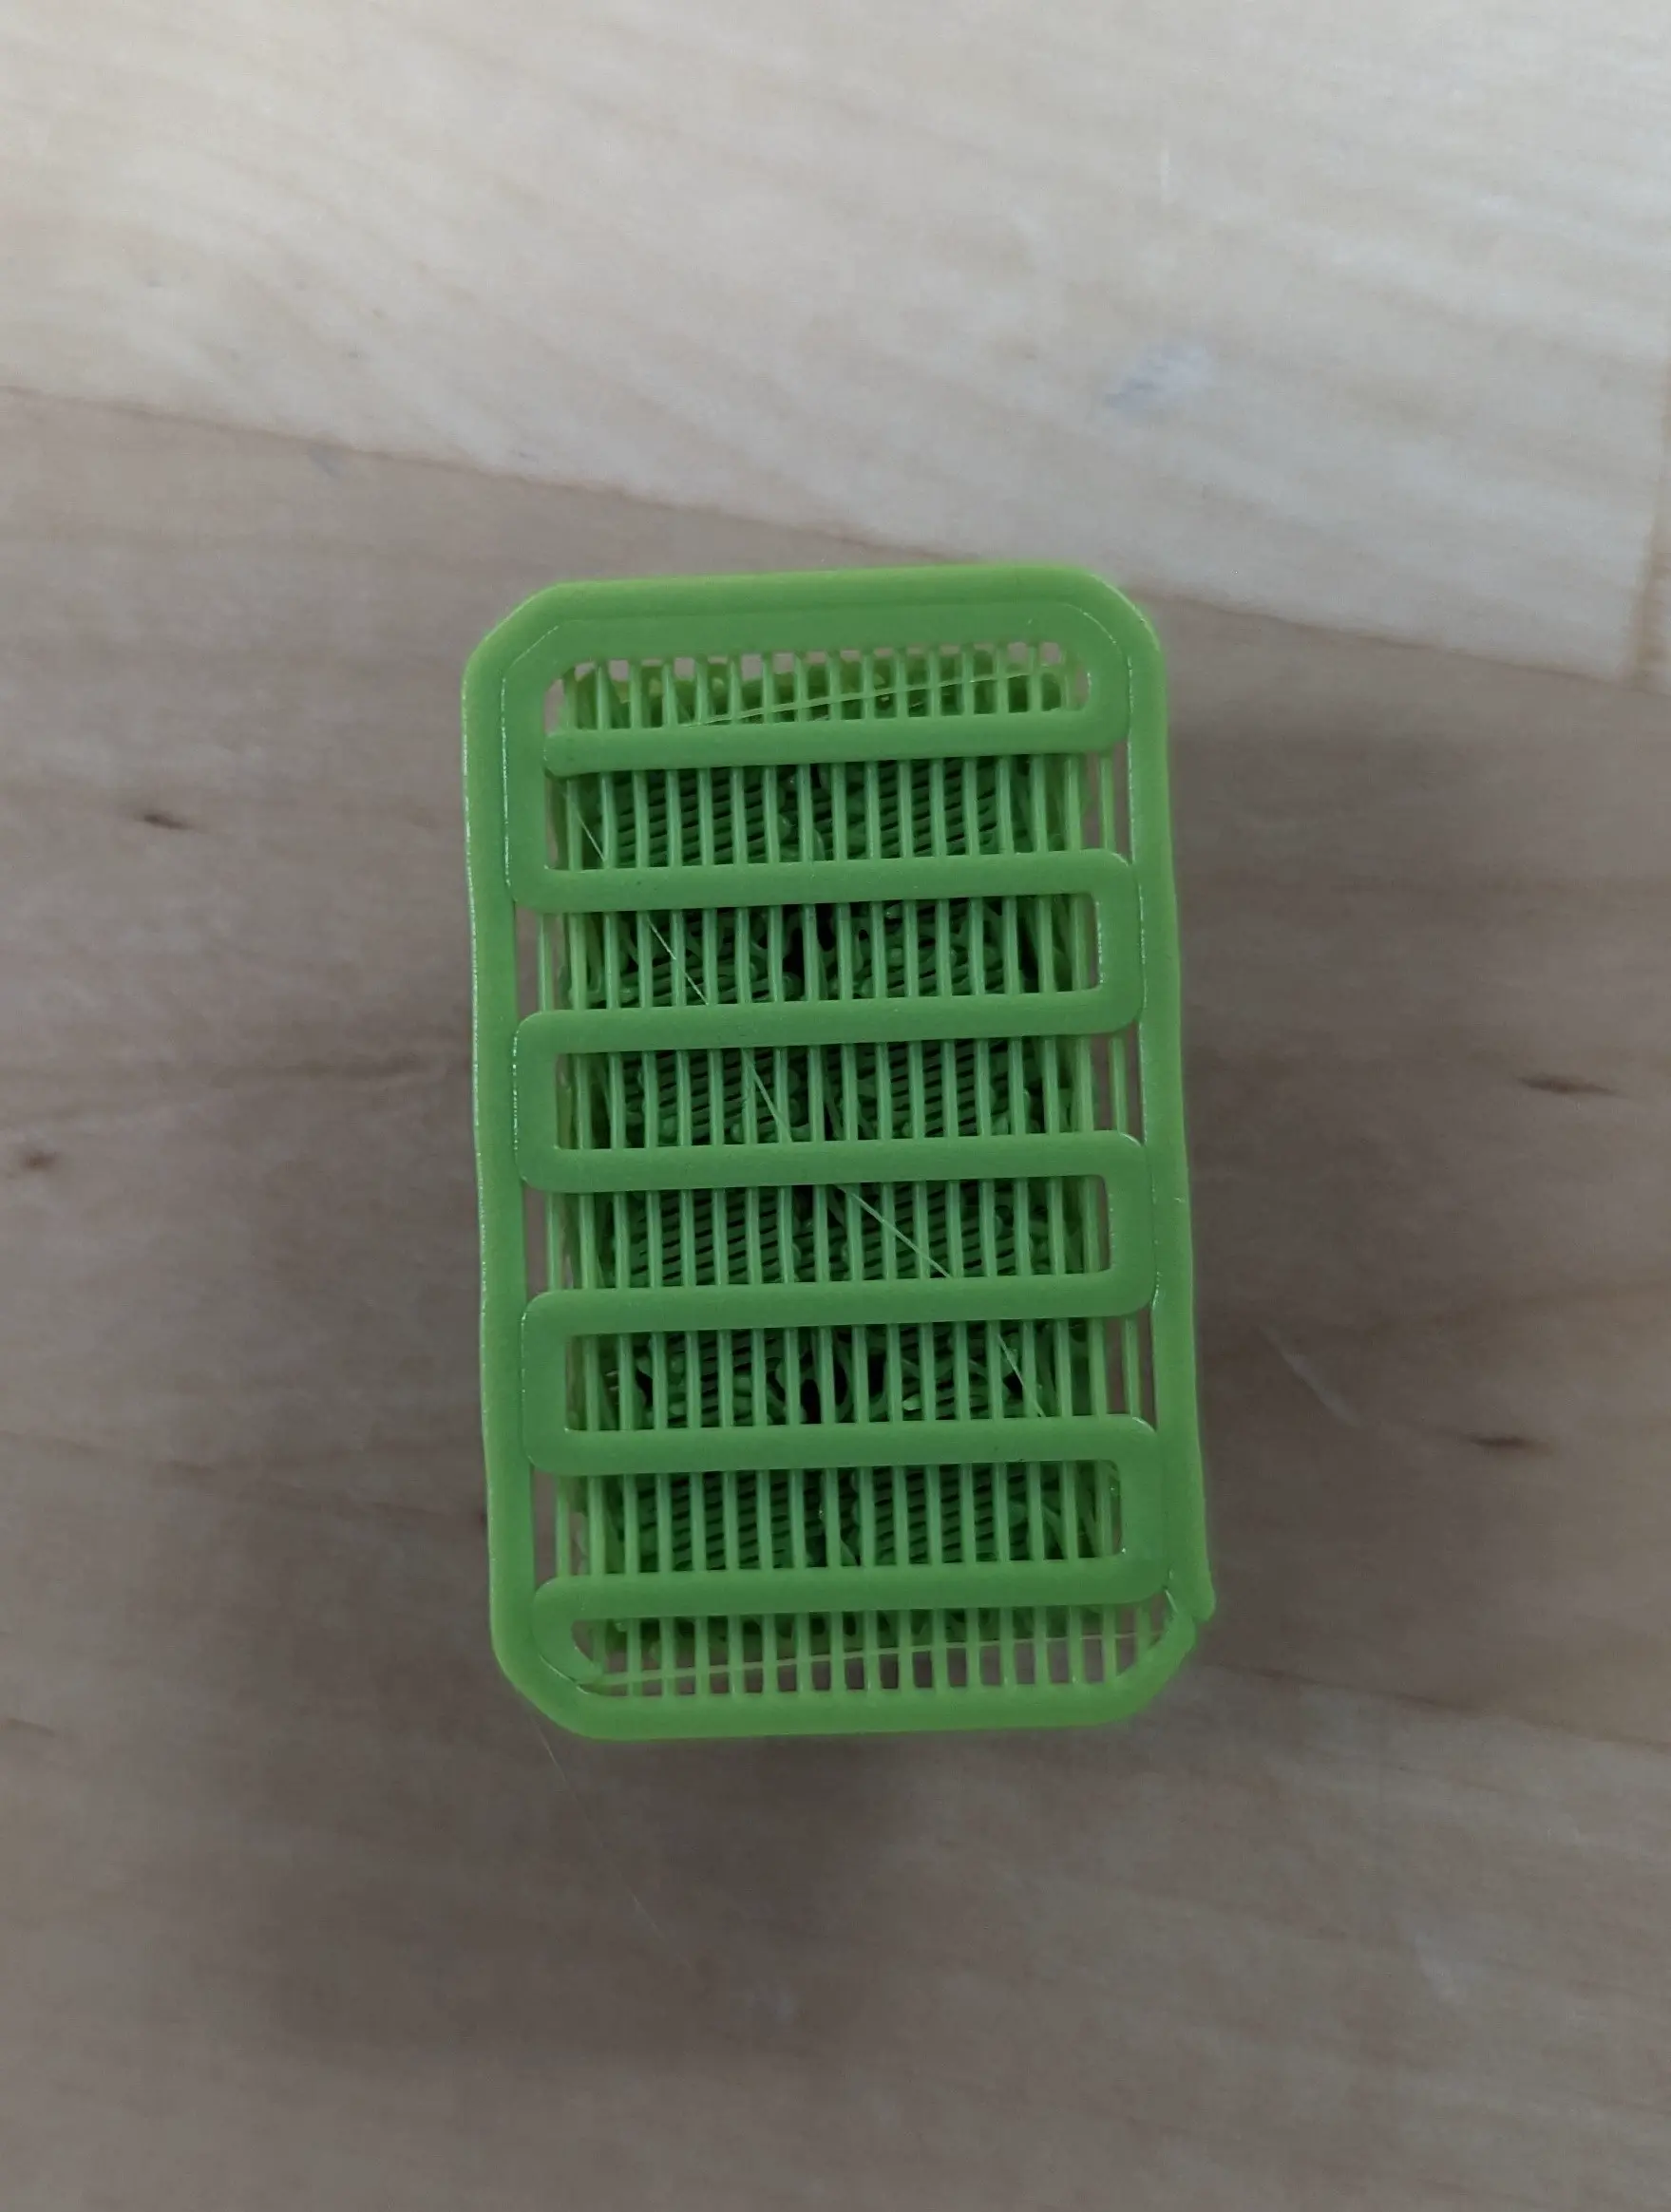
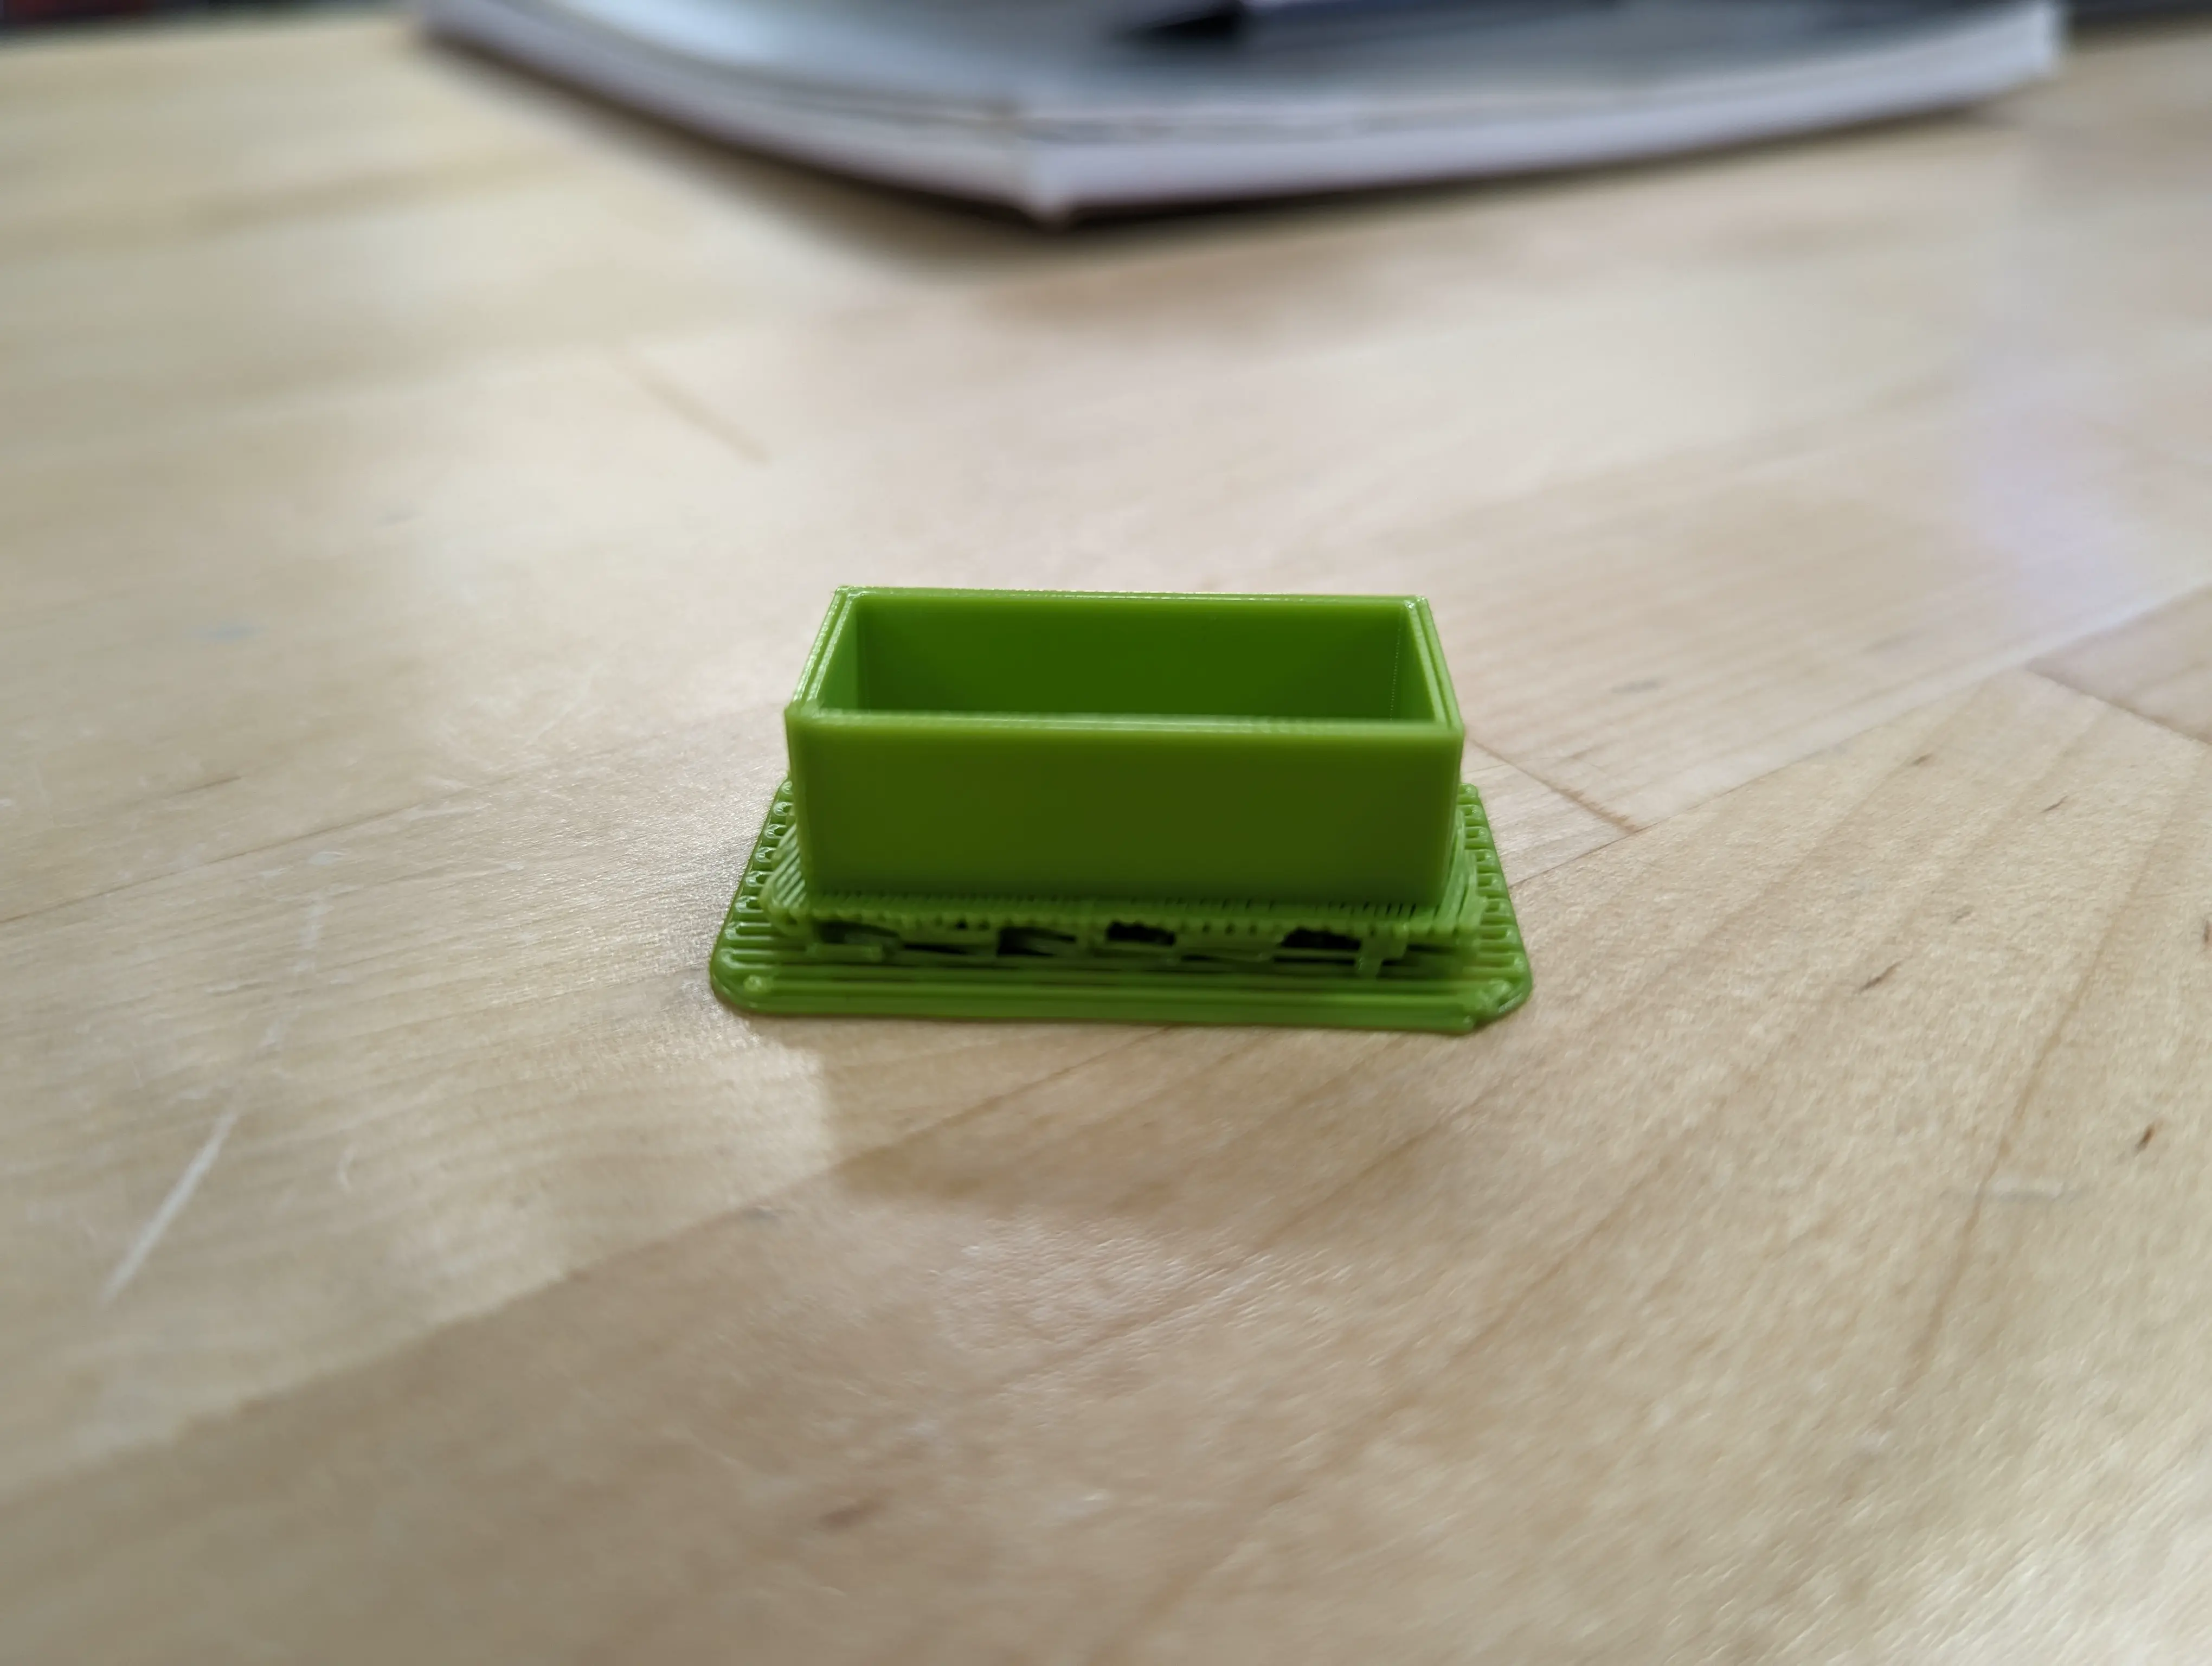
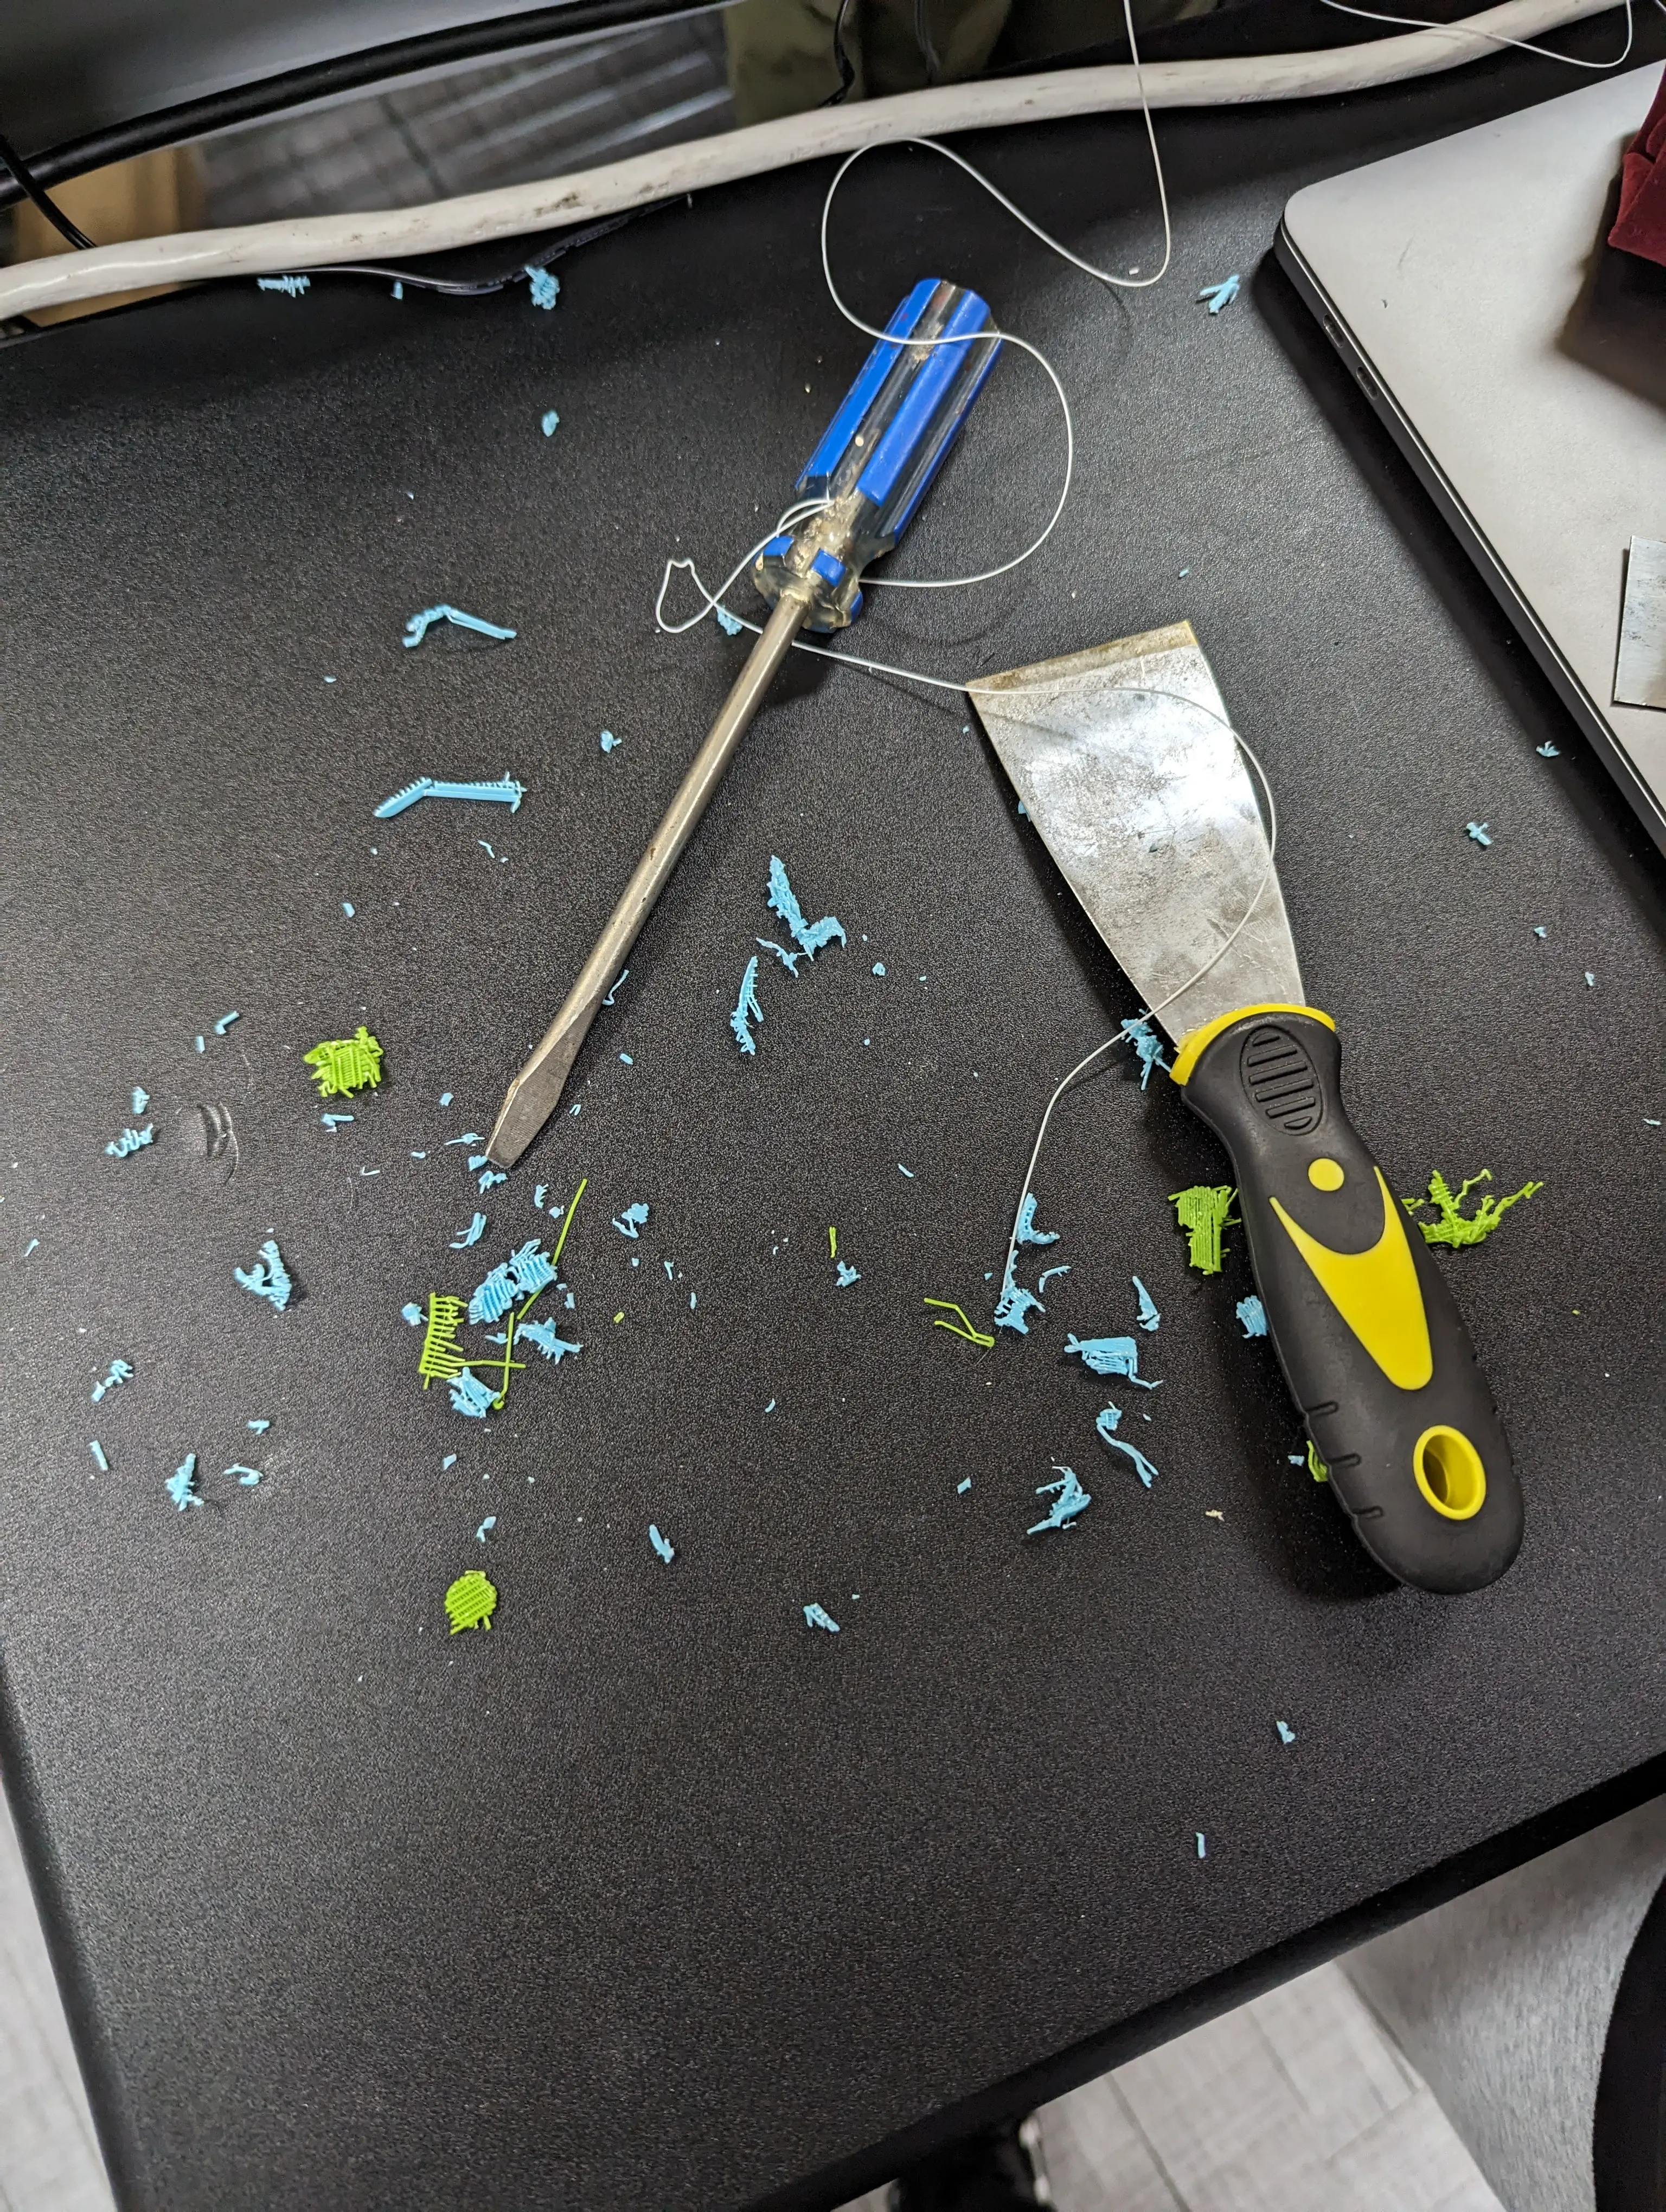
Removing the supports was still difficult because the print was so small. It was a slow process of carefully picking away the supports using a pair of tiny pliers and a flathead screwdriver. However, small chunks kept breaking off without removing much of the remaining supporting plastic. This process also ended up making a mess.
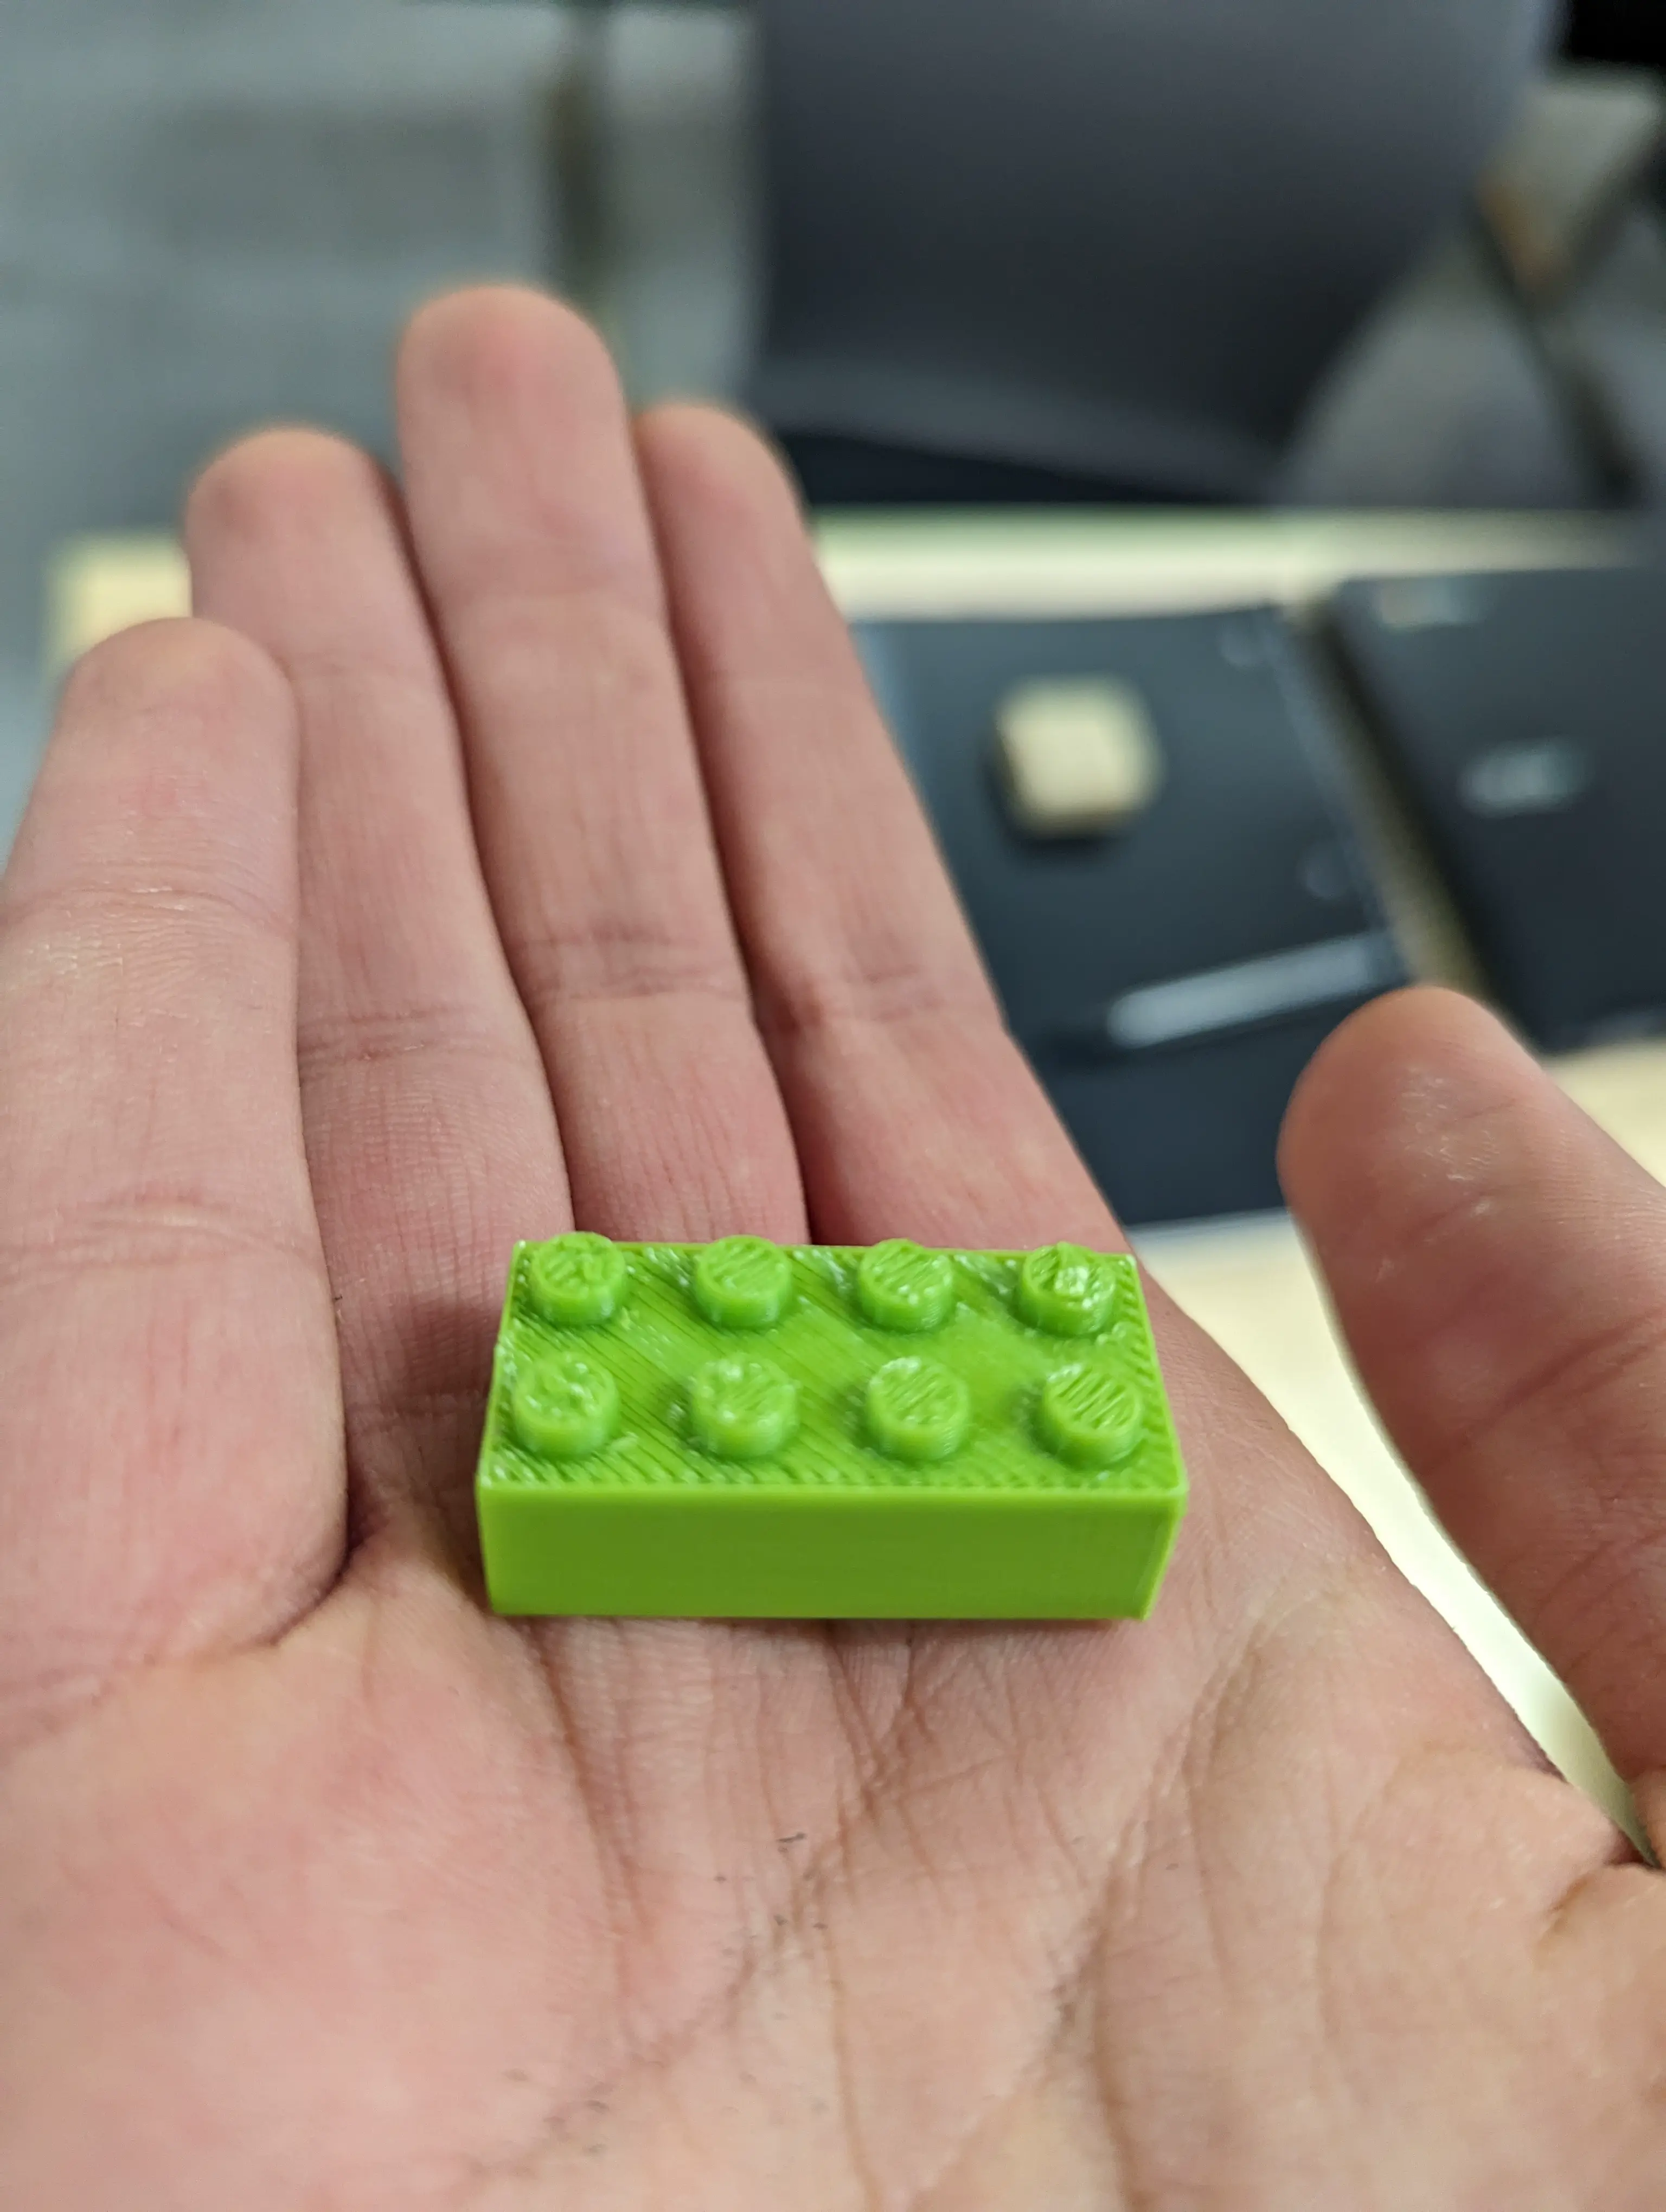
Somethings Missing 🤔
As expected, the detials on the studs didn’t print due to the accuracy of the printer. However, beyond that the main brick shape and studs were nearly indistinguishable from genuine Lego. It functioned just like a standard 2x4 piece, with the only caveat being the missing underside studs. Real Lego bricks could securely connect from the top without issue. However, lacking underside studs, my print could not connect from below.
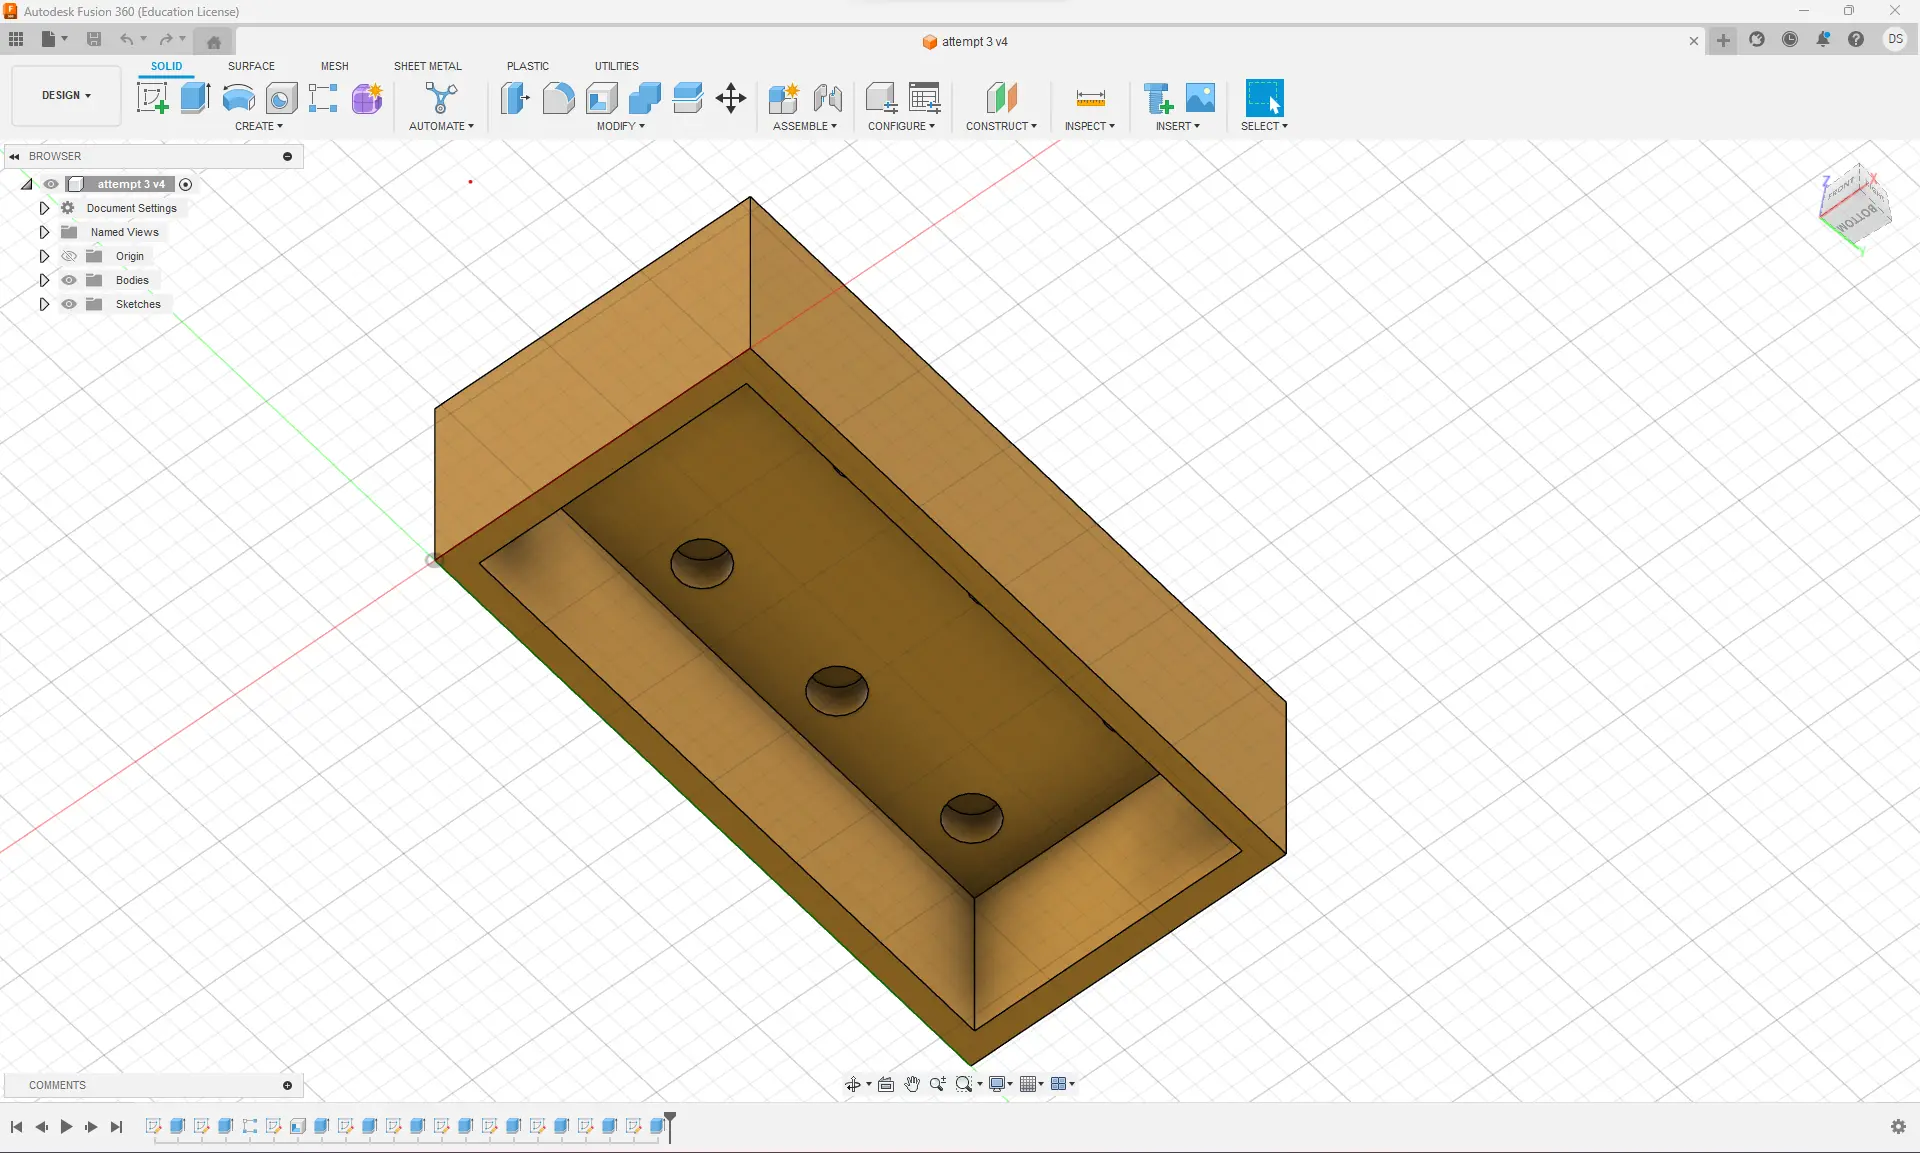
I really wanted a fully functional Lego brick instead of a half-functional display piece. After searching online, I found a schematic of a 2x4 brick by VLAD-MARIUS on Pinshape. Using the schematic, I incorporated the underside studs into my Fusion design. This addition was a breeze thanks to the skills I learned previously during this project.
I was now ready to print my upgraded model. Like last time, I oriented the brick to face studs-down. However, the estimated print time jumped to around 47 minutes, far longer than the 17 minutes of my initial print. I was surprised the time increased significantly because I didn’t feel I added that much.
Thankfully, it printed without any issues!
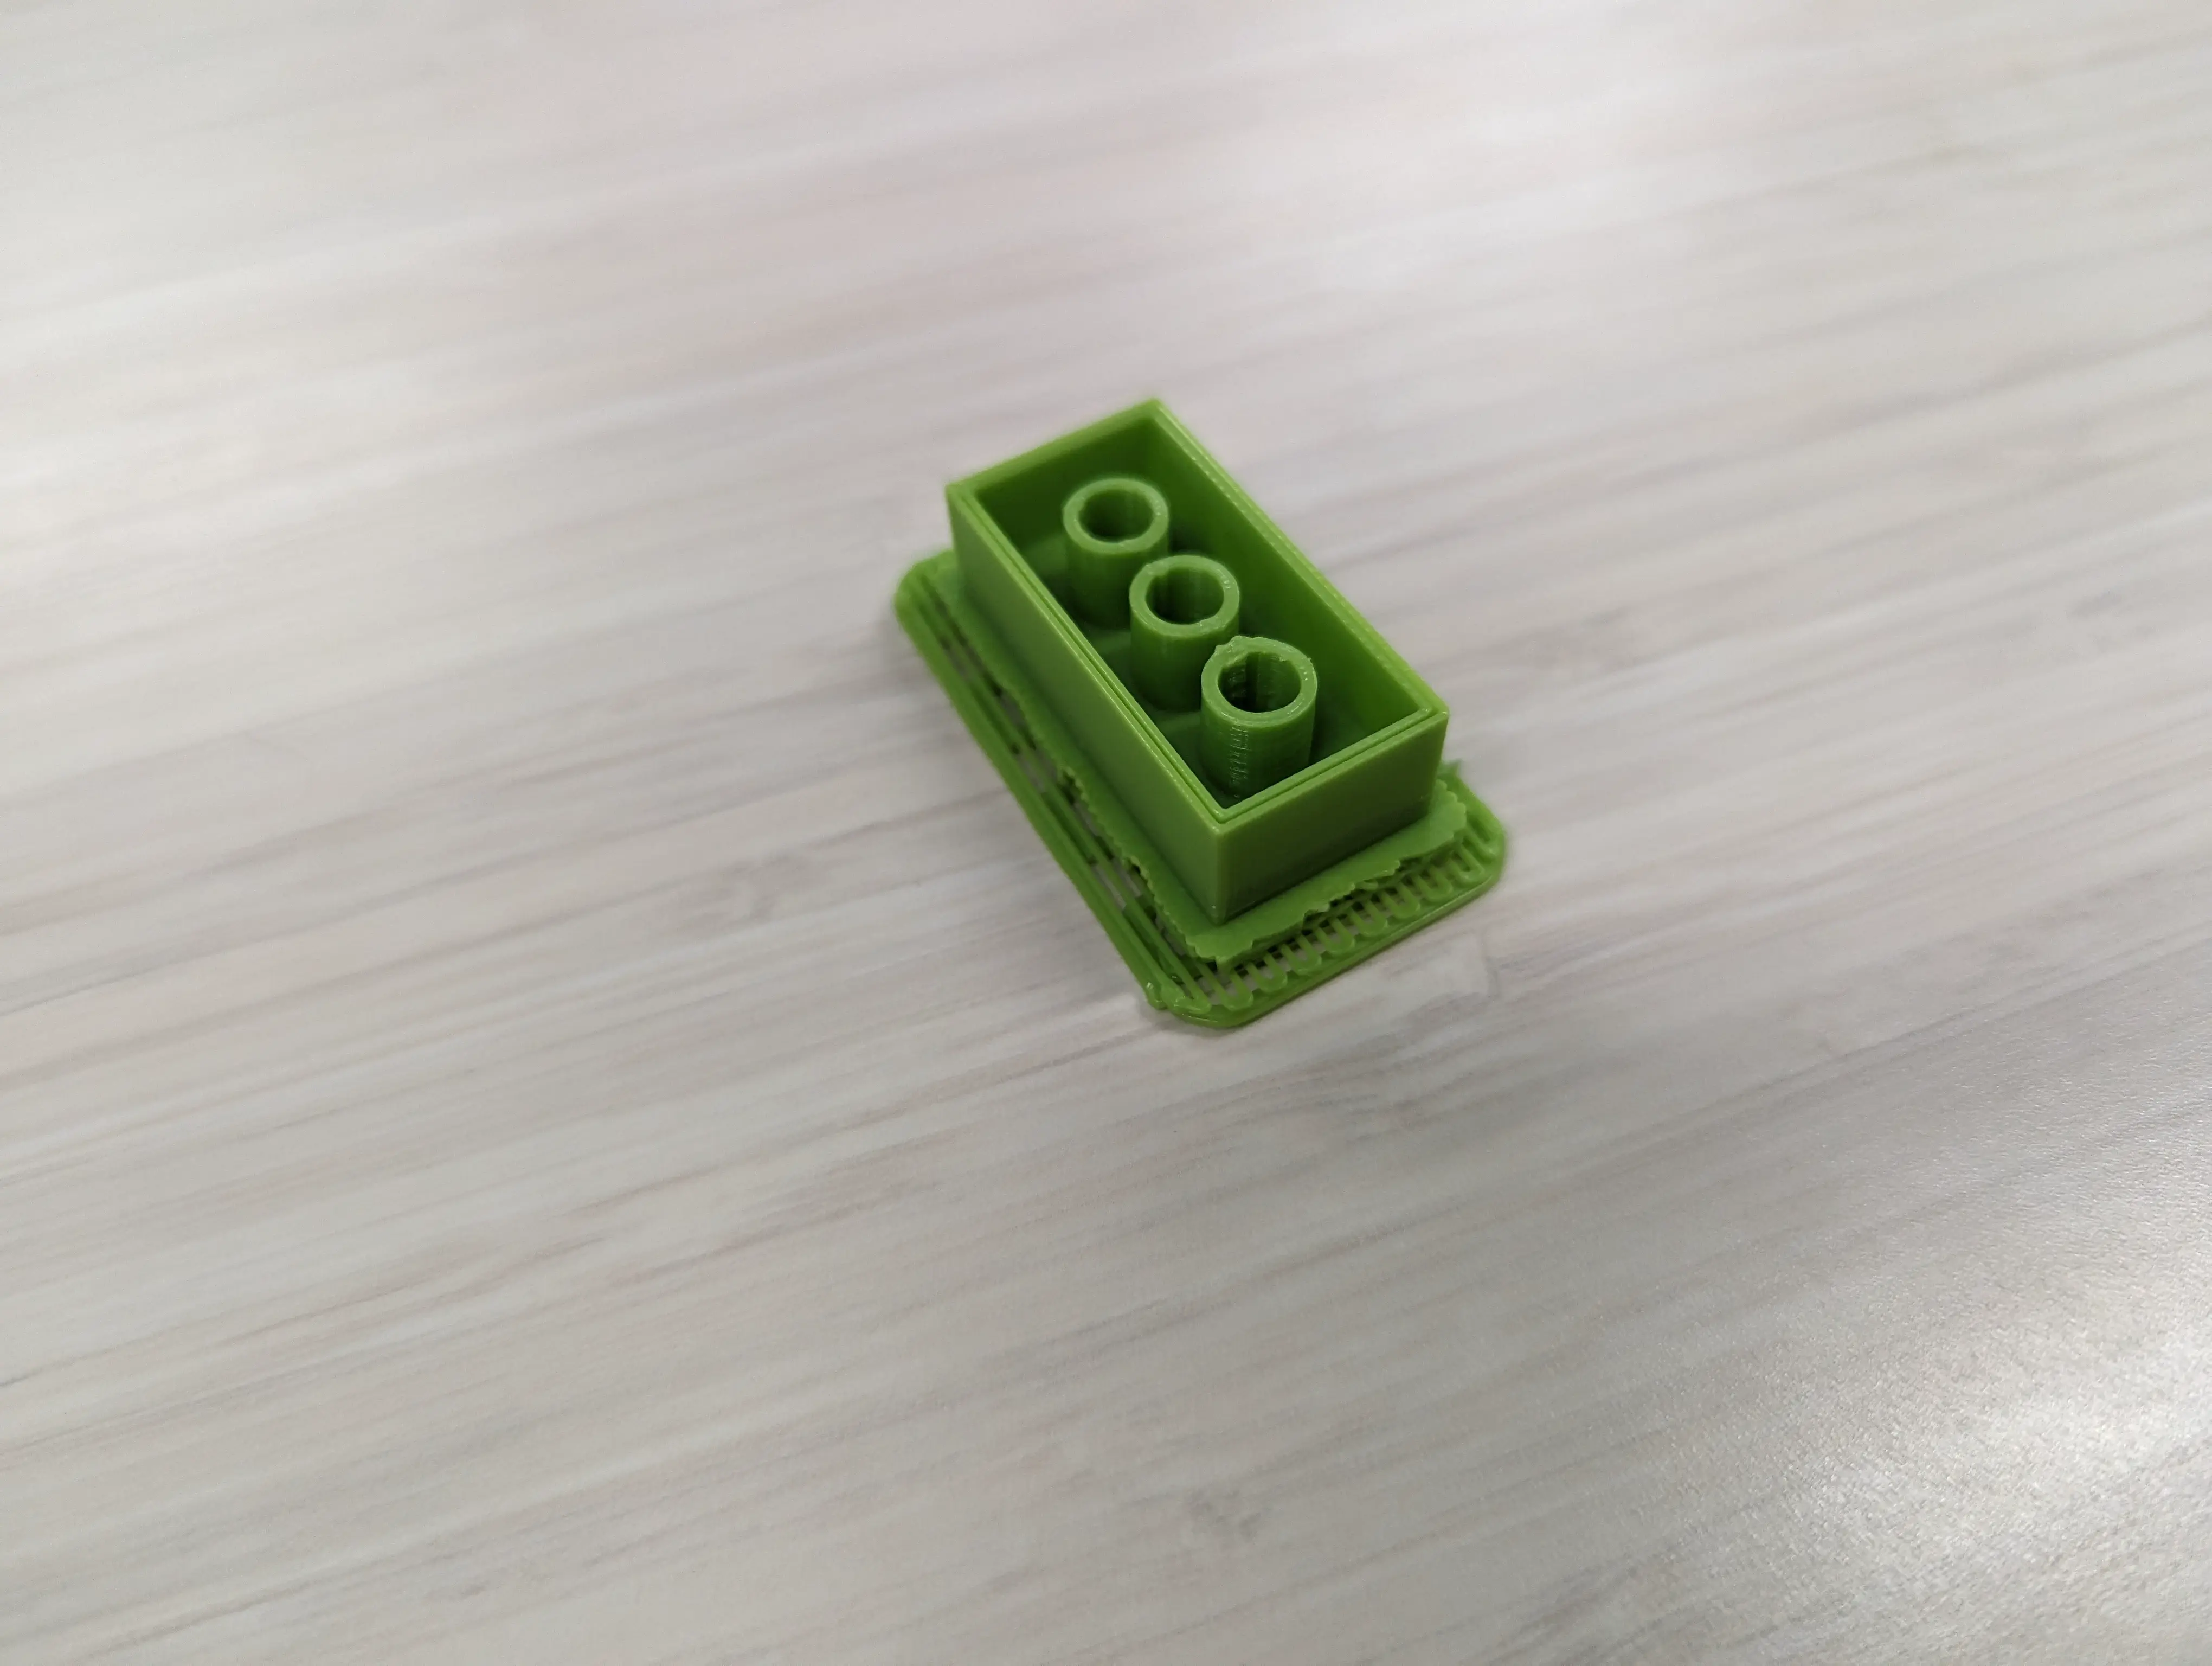
Now my bootleg Lego can connect to other real and fake Lego from the bottom!
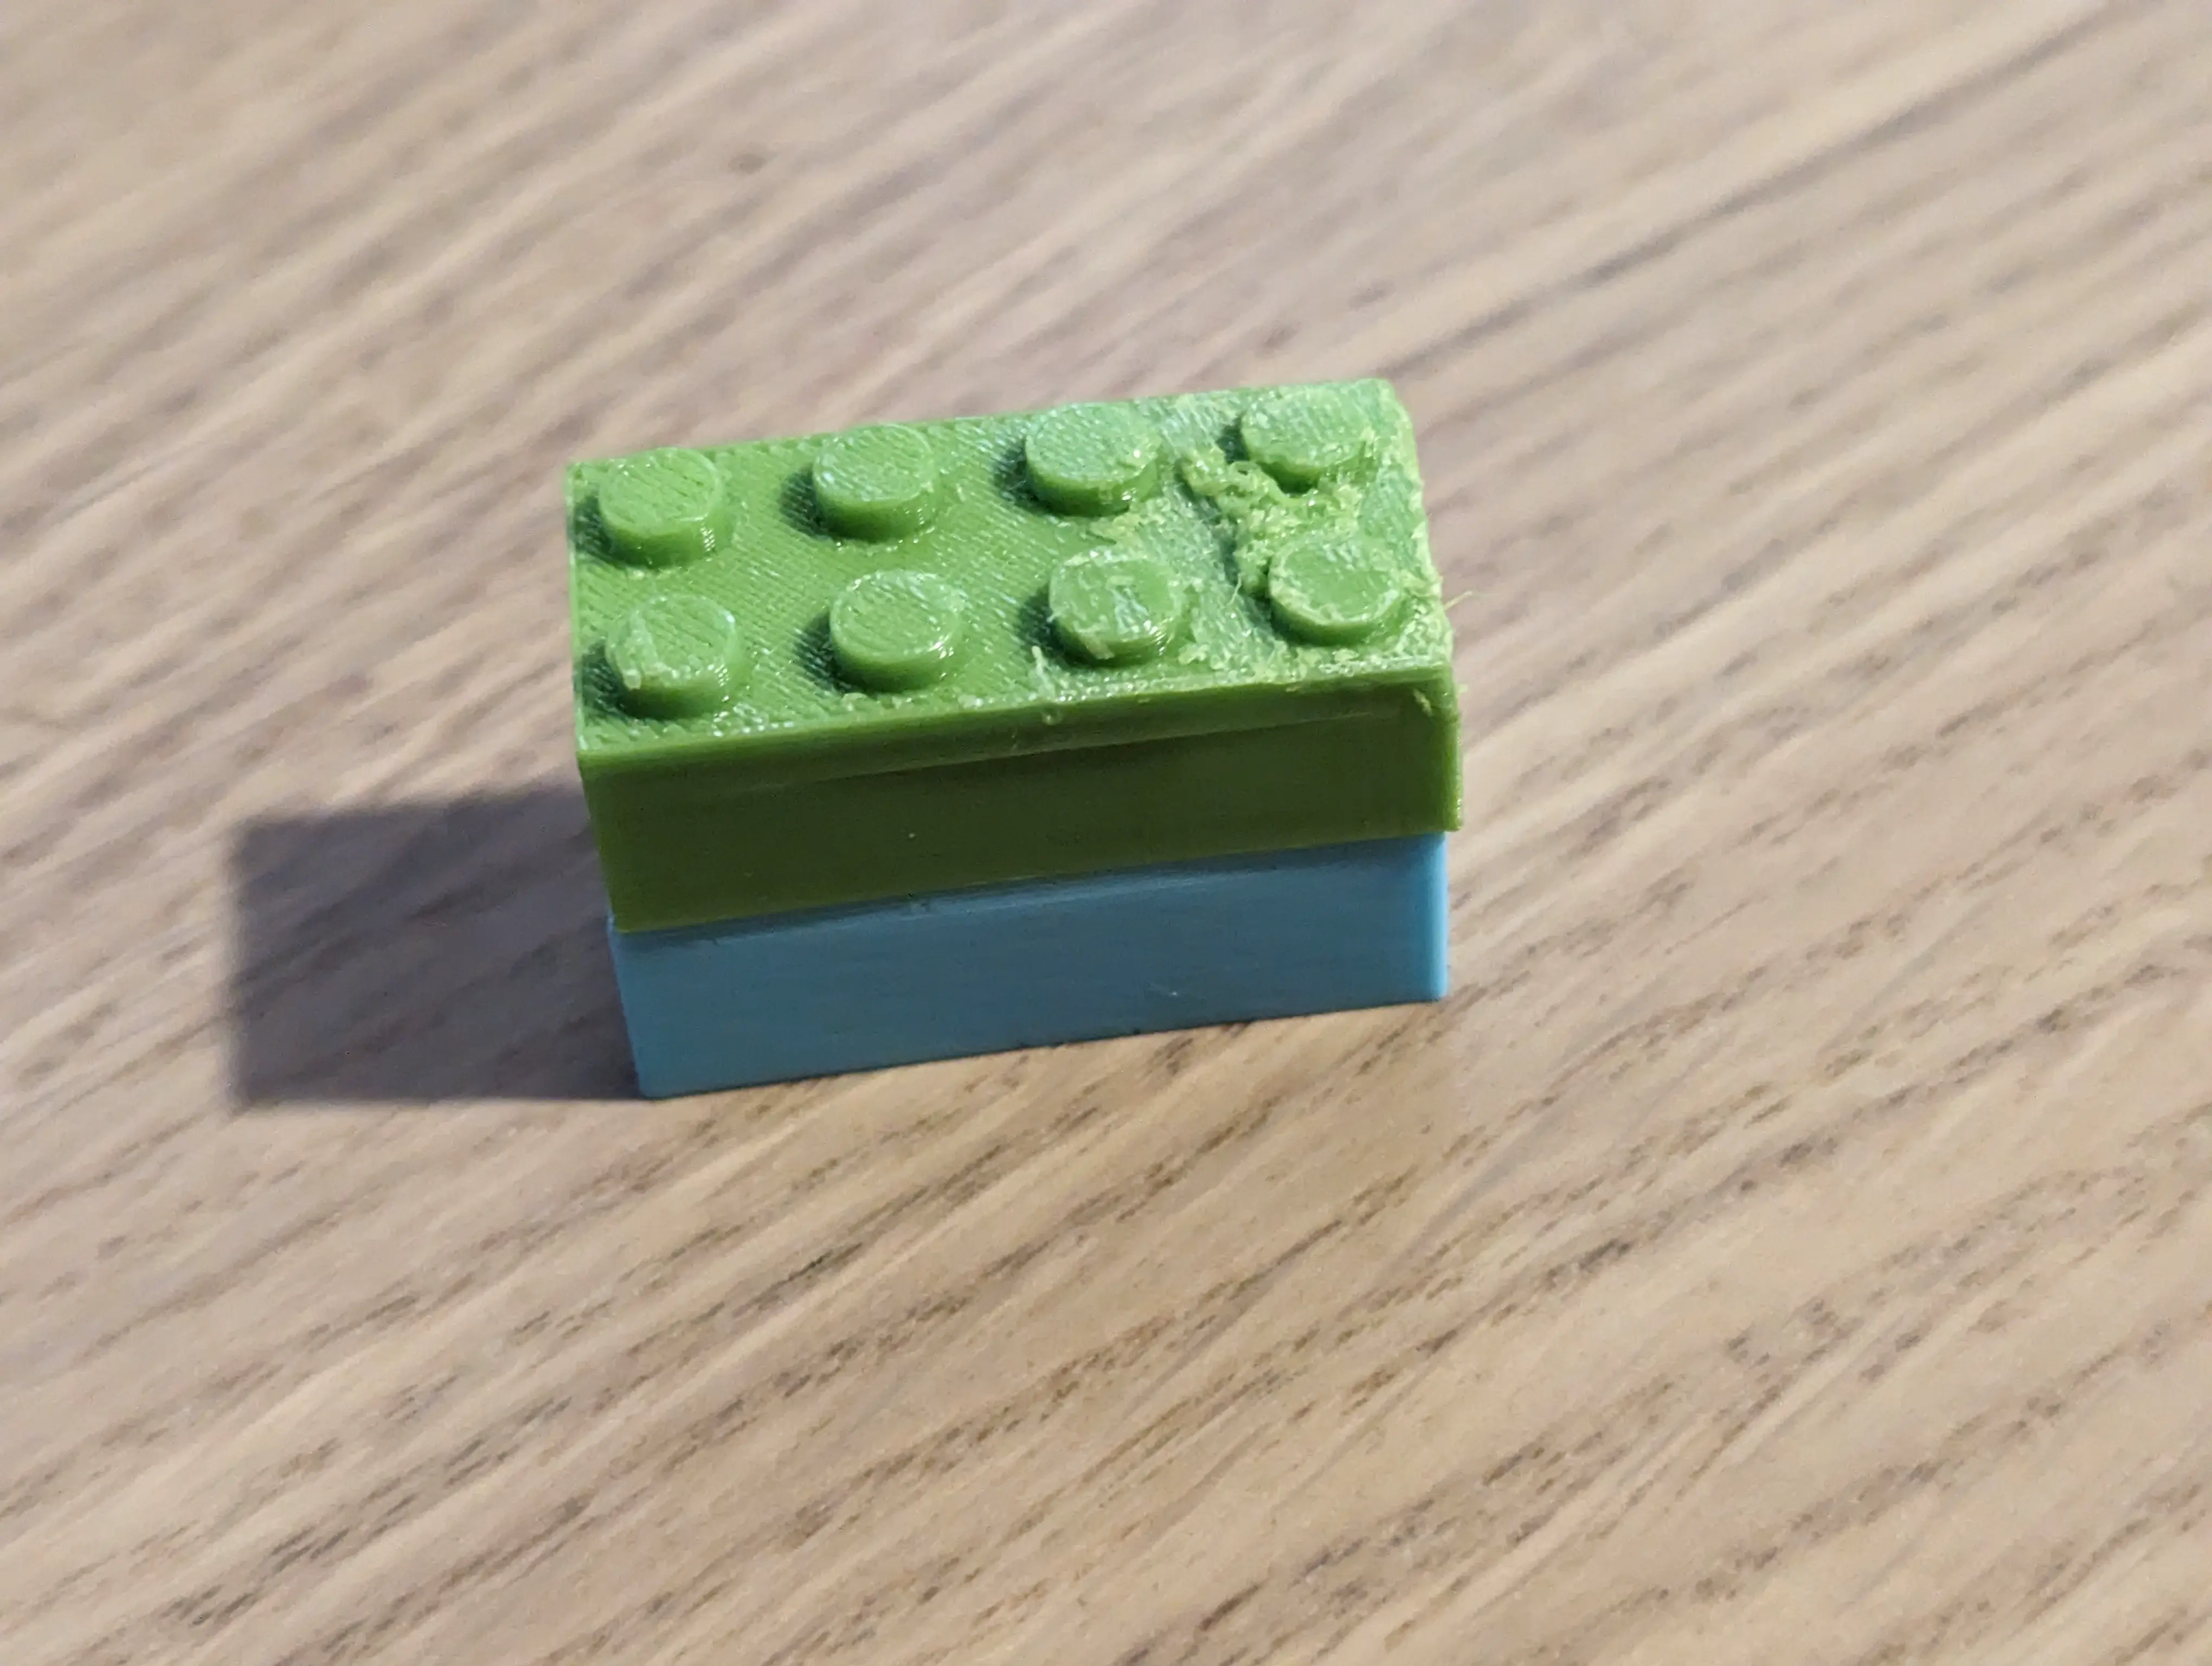
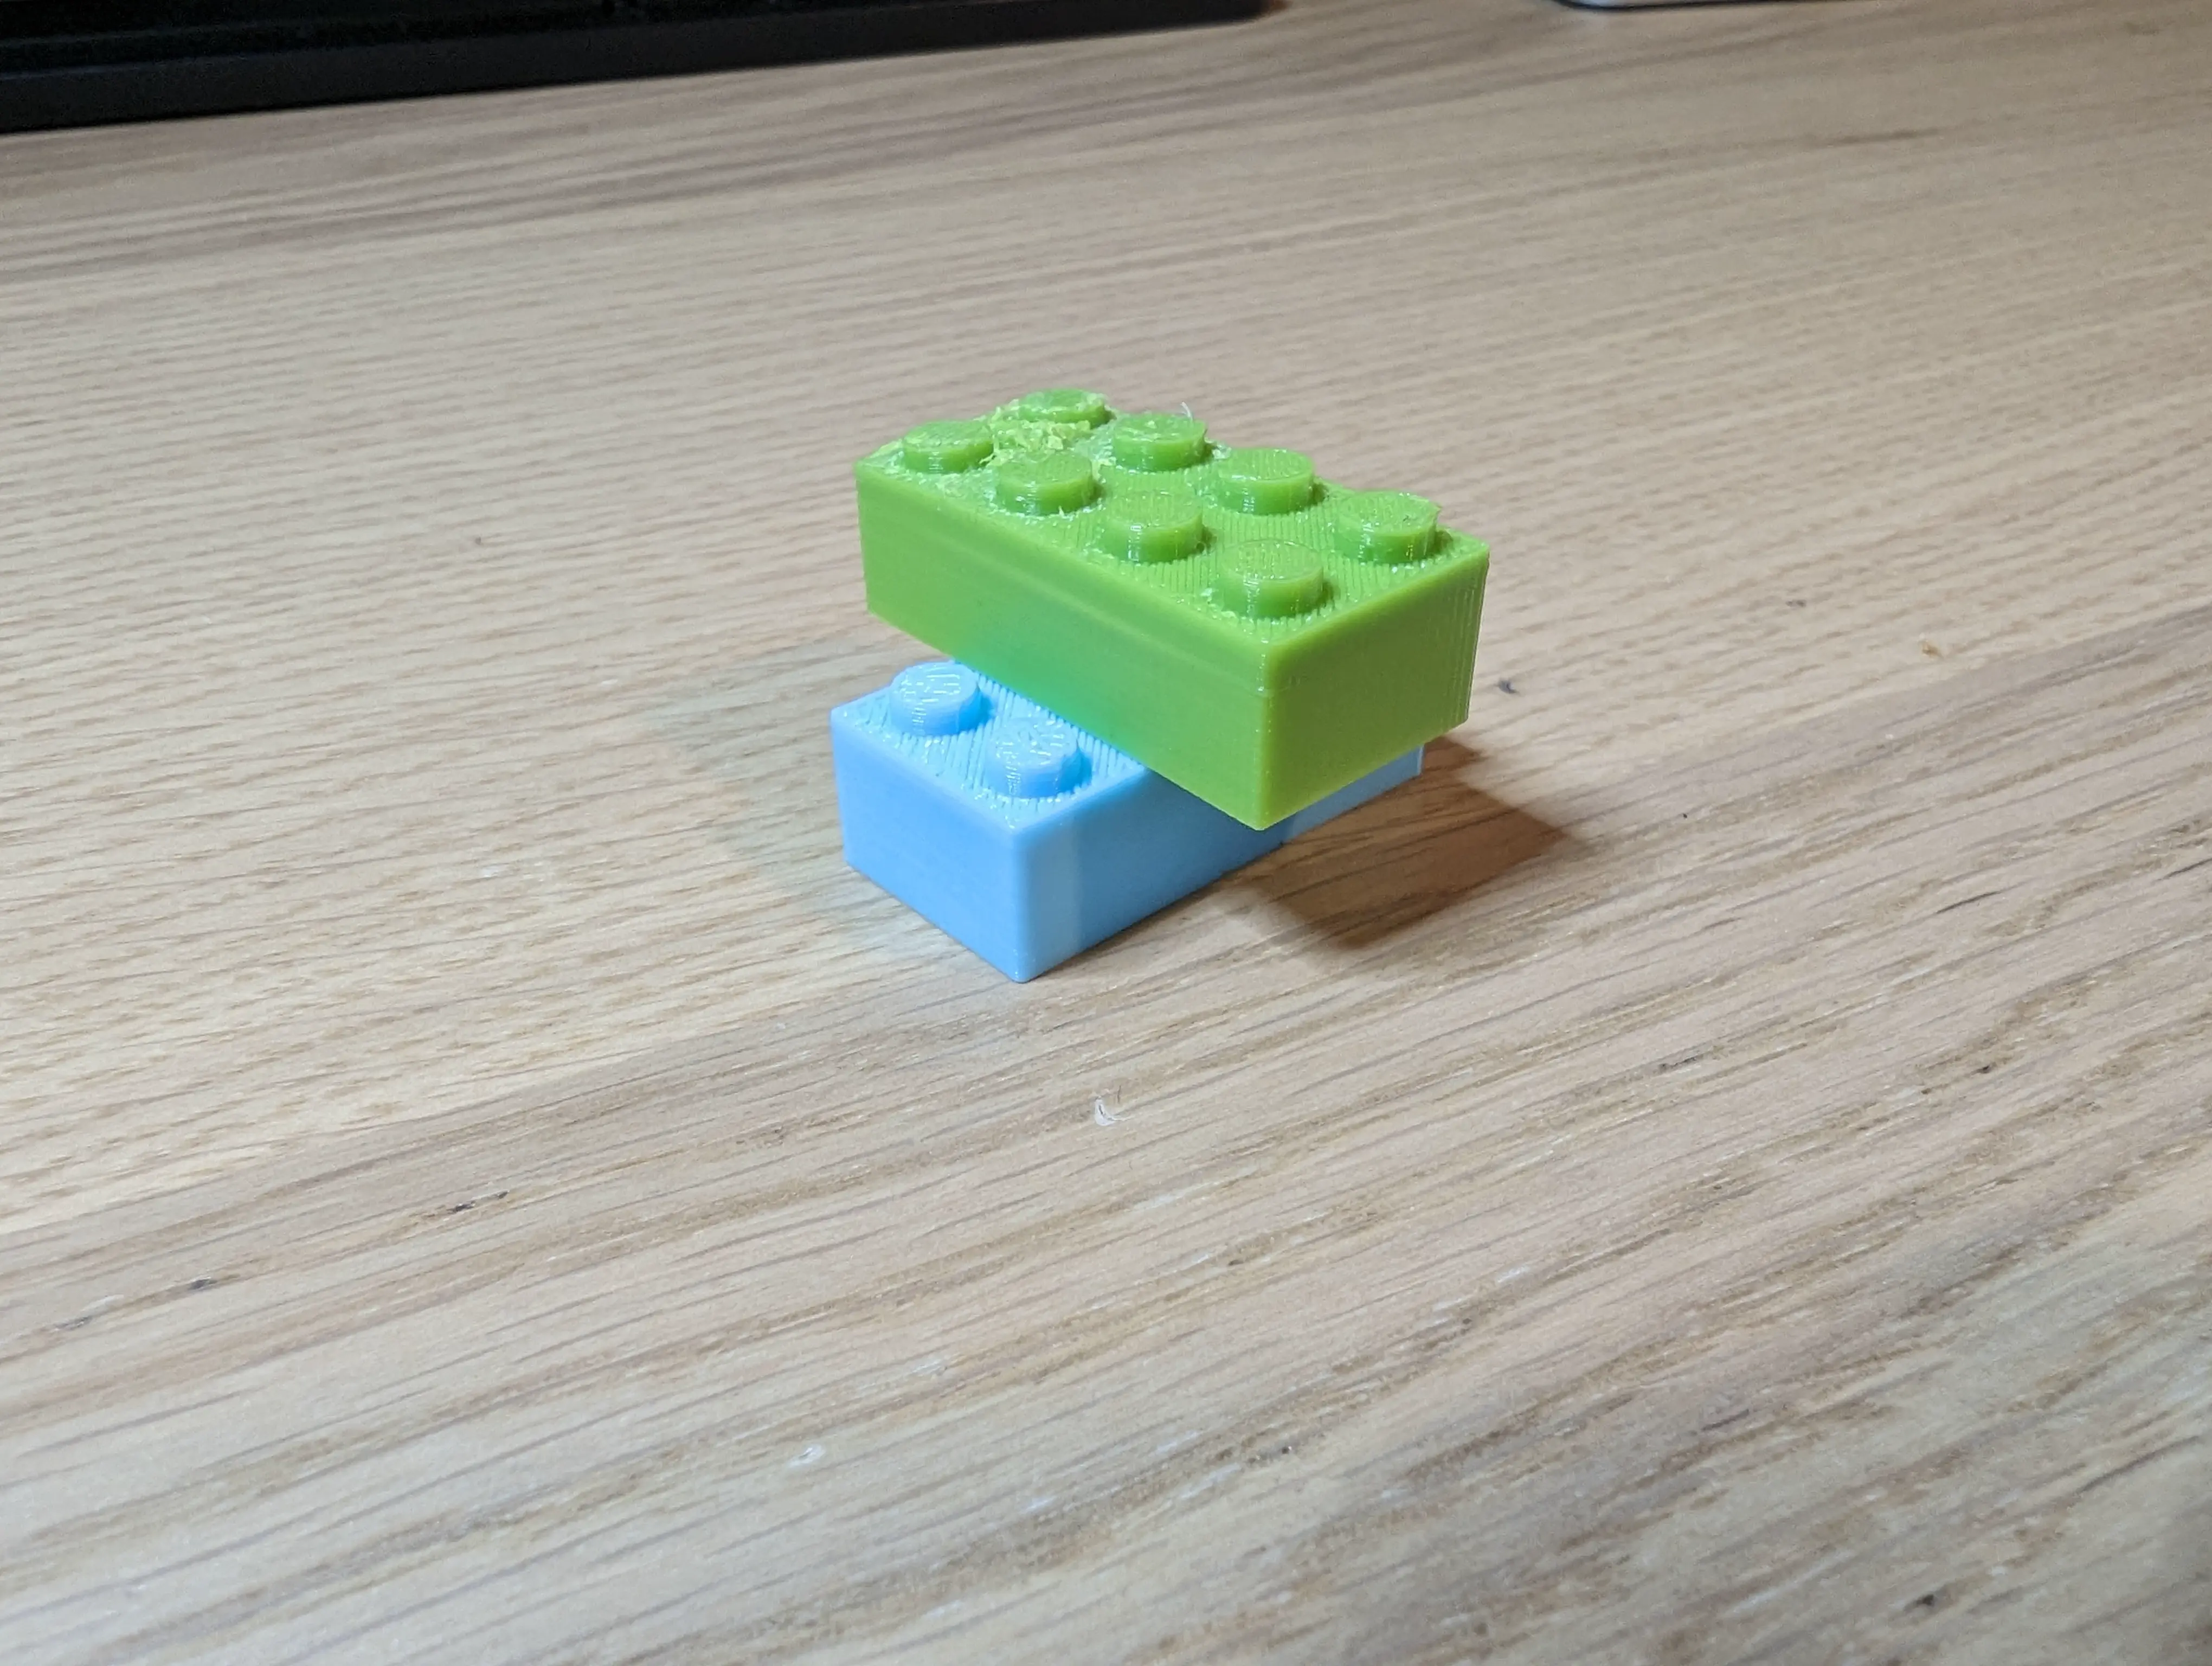
As you can see in the photos, I butchered the top of the brick while attempting to remove the supports. The brick finished printing just as class ended, so I had to remove the supports at home. I didn’t have access to the small pliers I previously used; I resorted to whatever tools were available in my iFixit kit, which was really difficult because I couldn’t grab onto the supports and rip them off, I had to chisel away at it.
What I Learned
Throughout this project, I learned quite a bit while developing my 3D modeling and printing skills:
Autodesk Fusion 360:
- Learned Fusion 360 basics
- Created simple parts and sketches
- Modeled a custom Lego brick
- Extrude SVG files
3D Printing:
- Learned printer setup and calibration
- Completed test and functional prints
Troubleshooting:
- Fixed filament breaks
- Identified and corrected print failures
Interpreting Models:
- Learned to read basic schematics and design documents
- Added missing pieces based on Lego blueprint
- Matched proper specifications
This project was a fun dive into CAD design and 3D printing. I’ve learned a ton, and it’s set me up to try and discover more in the future!
